November 27, 2008 @ 2:43 am
· Filed under Craft, Podcast
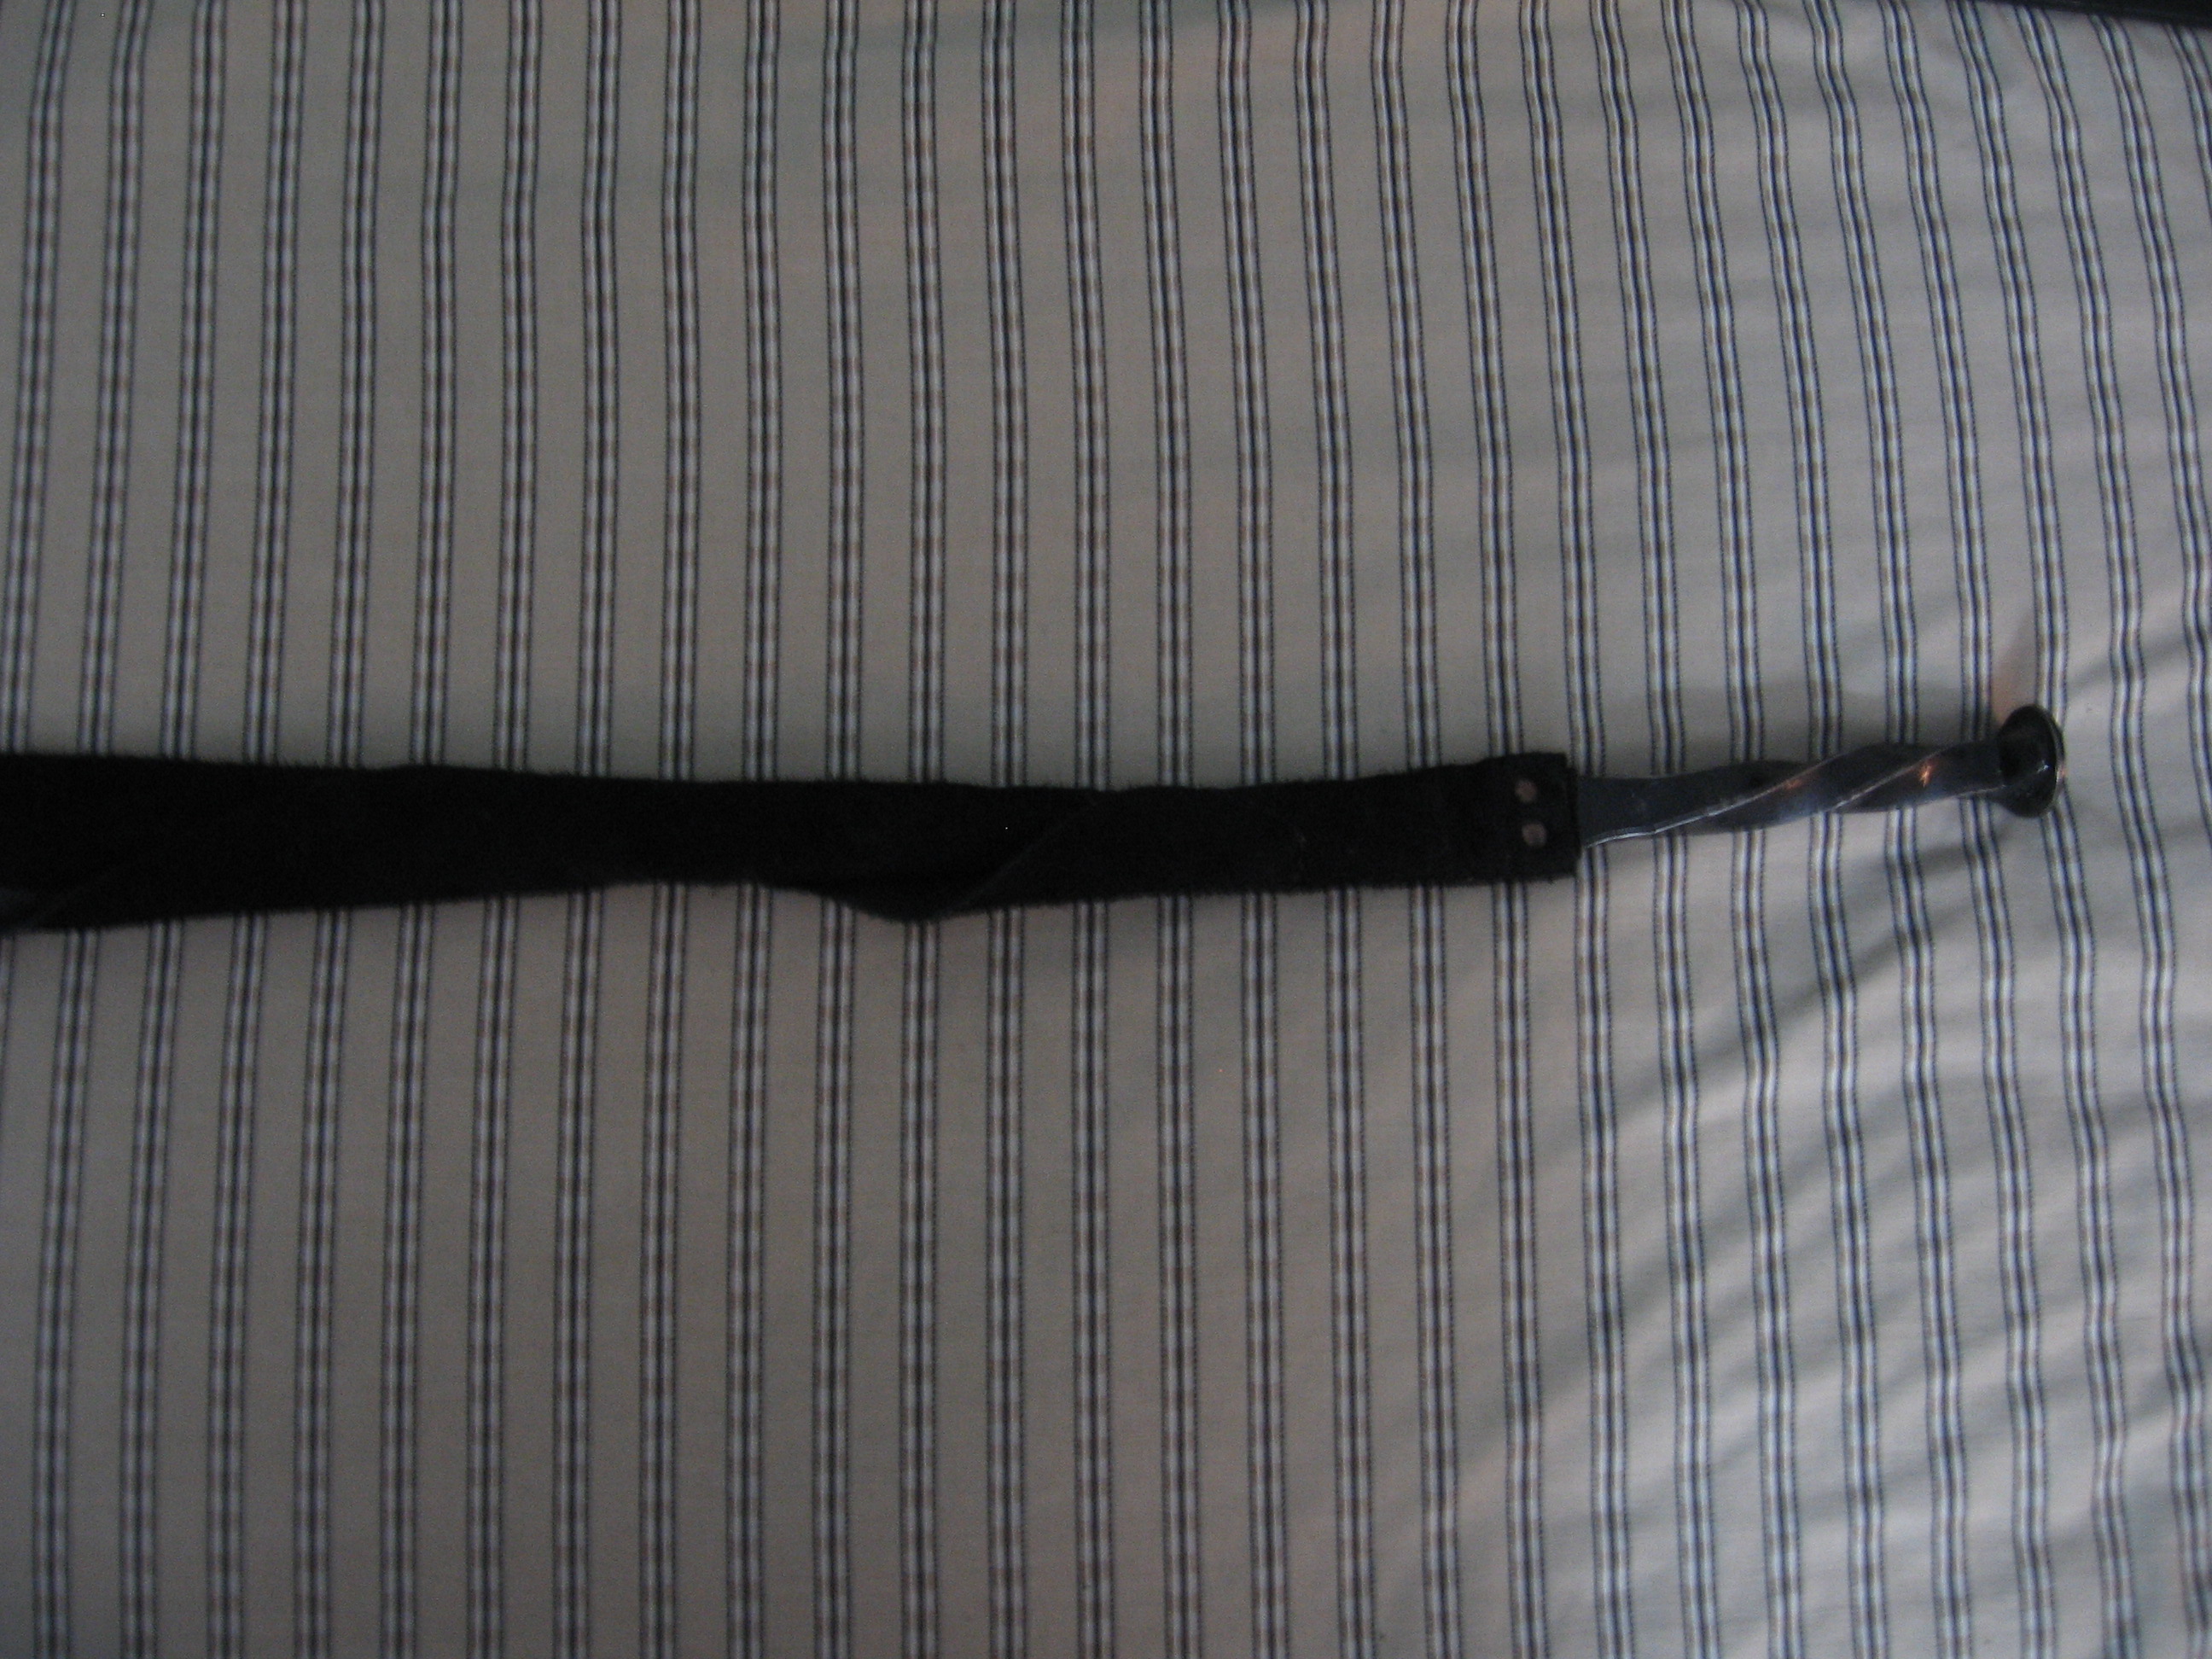
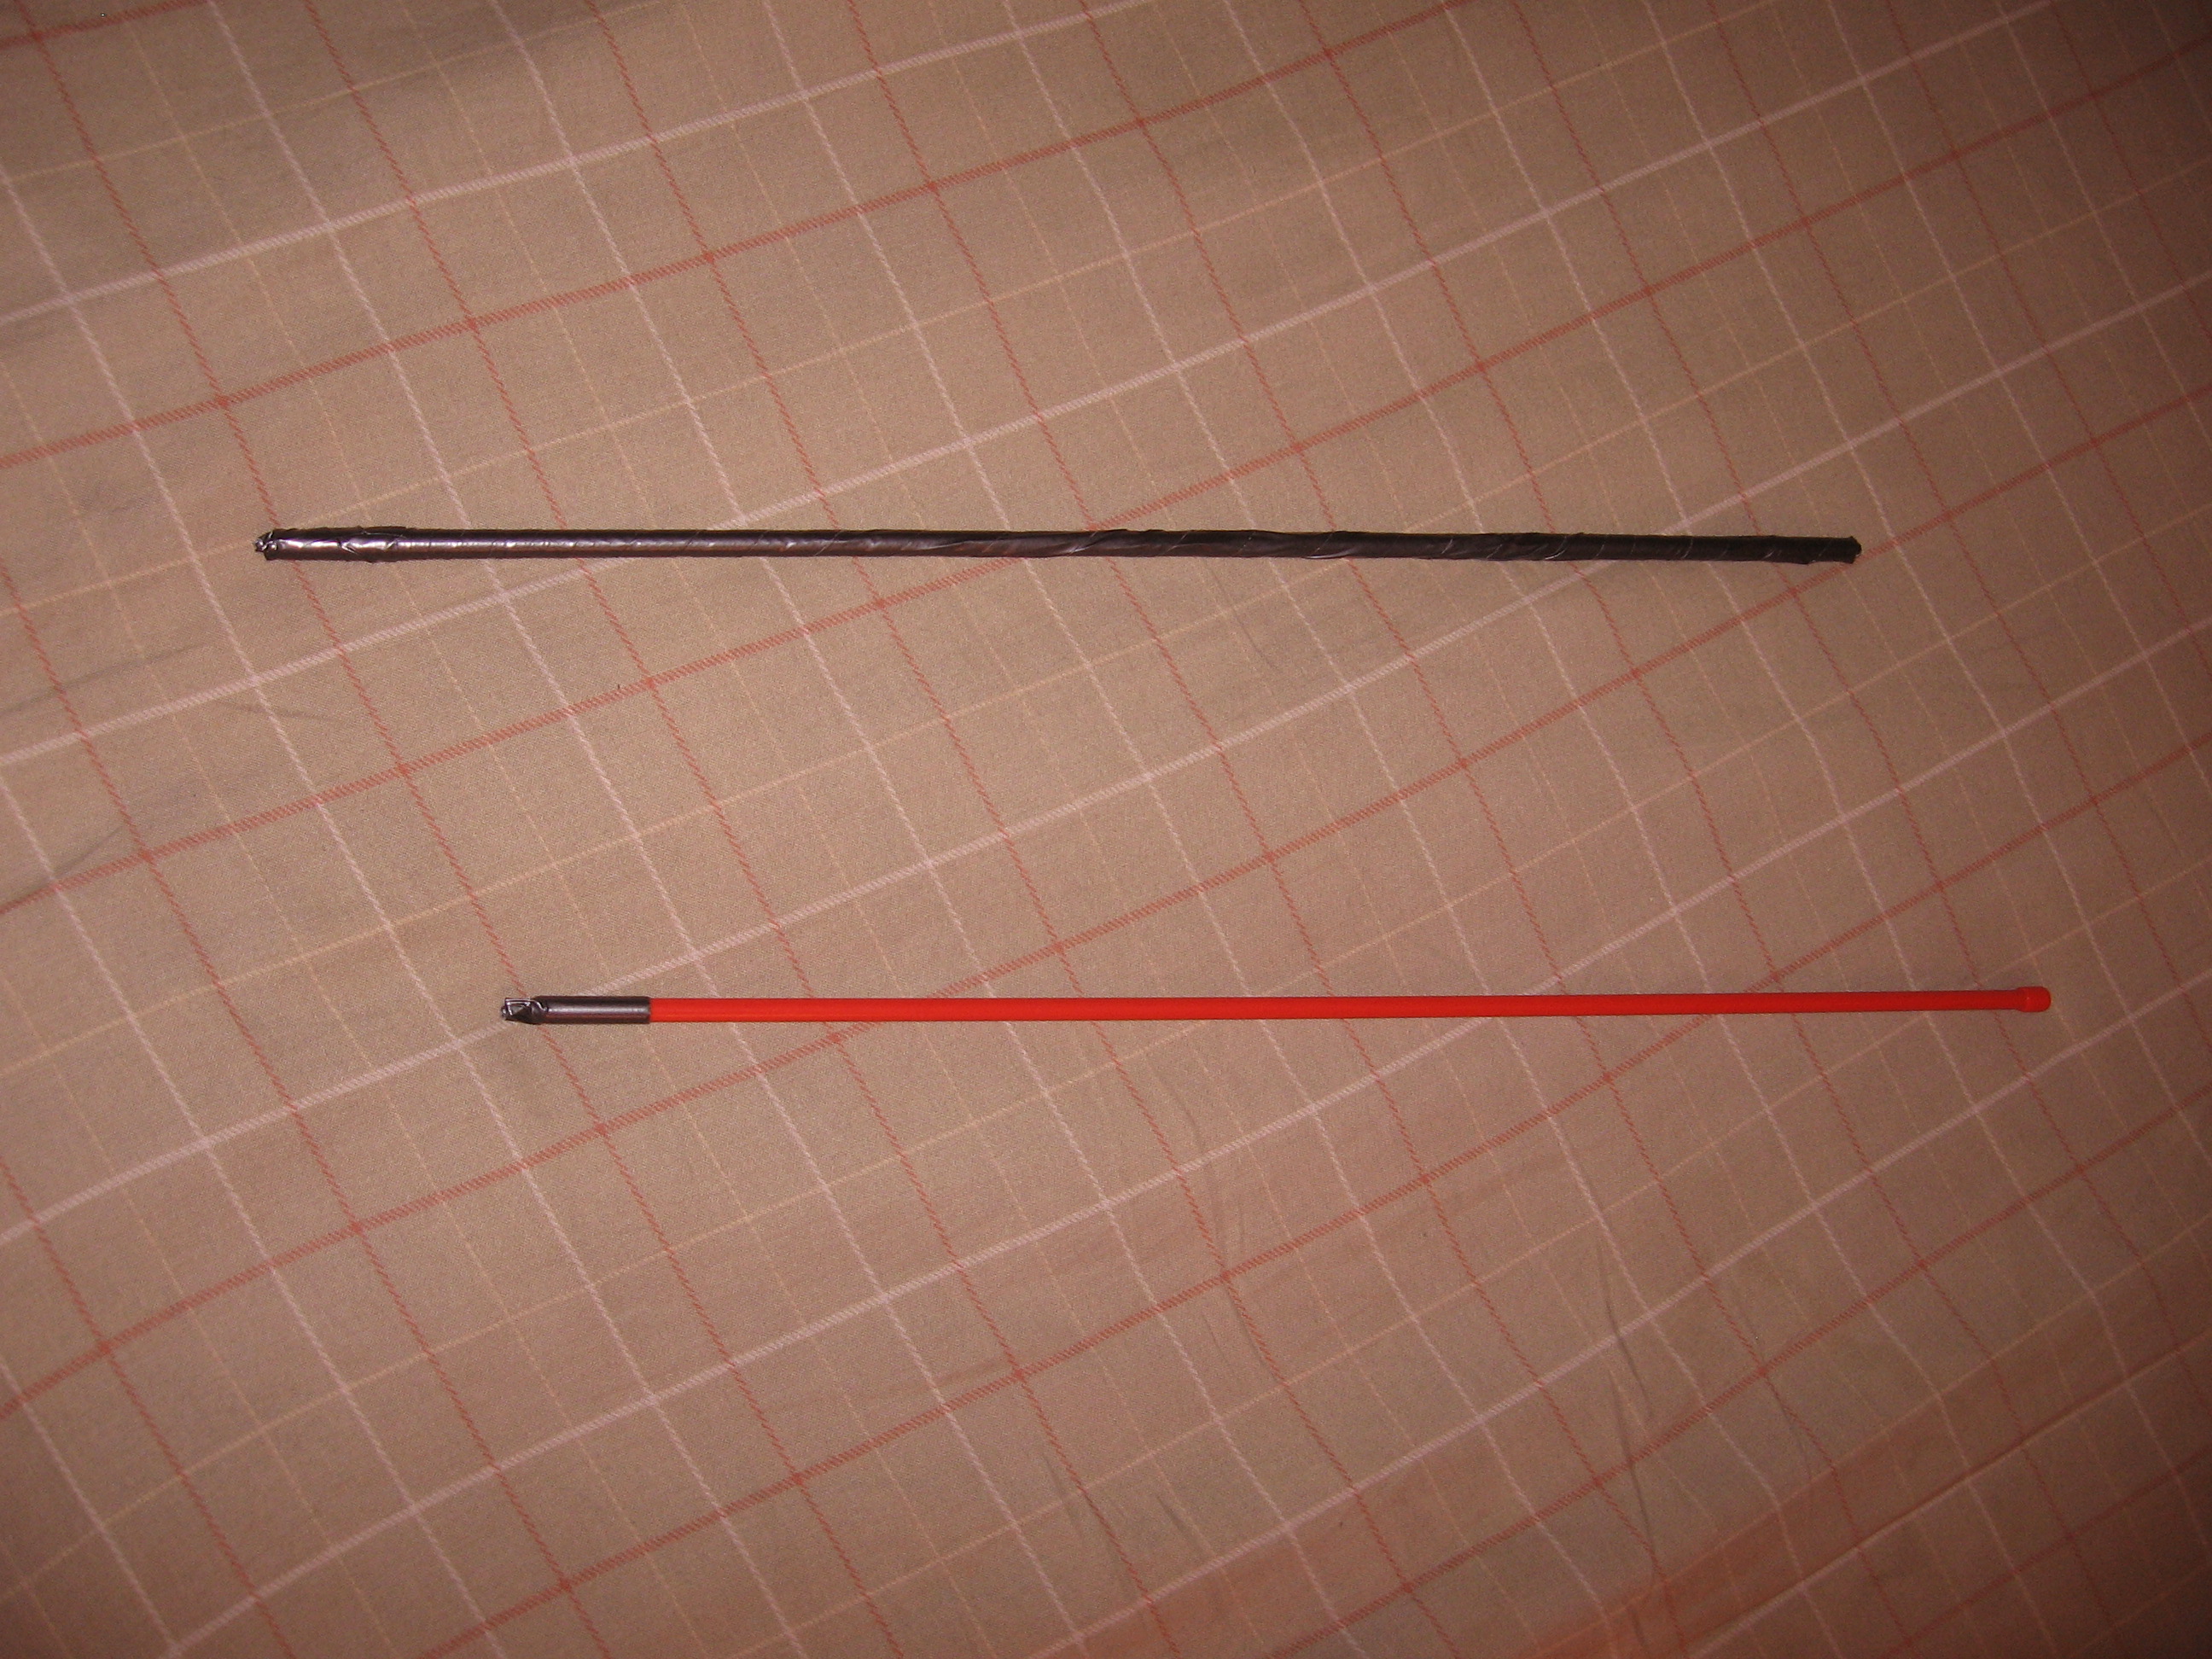
For today’s craft segment, I picked up a reflective driveway marker (fibreglass rod) from a hardware store for $2, cut it in half very carefully so as to avoid fibreglass splinters, and duct taped one exposed end and wrapped the other entire rod in tape. One safety note, fibreglass rods can brake and leave jagged edges. One benefit of wrapping the entire rod in duct tape is that you get a little more protection from rough edges if it does break. Don’t swing these too hard or whip them around a lot. The end result is a cheap and fun toy that has a surprising amount of sting for its diameter.
November 18, 2008 @ 12:36 am
· Filed under Craft, Podcast
For this week’s craft segment I made an impact toy out of a bundle of construction marker flags. I put 15 of the markers together, rolled the flags together to provide a more substantial handle and keep the individual rods in place, and added a layer of duct tape to keep everything nice and contained. Total cost for the project was $7 with enough material left over for 5 more bunches, or several larger ones. A rubber band placed around the bunch could be slid up and down to adjust the amount of spread on impact, changing the feeling from wide spread and stingy if the band is near the handle to more concentrated and thuddy if the band is closer to the tip. The tips of the rods were fairly smooth as is and a grazing blow scratched without cutting.
November 11, 2008 @ 12:54 am
· Filed under Craft, Podcast
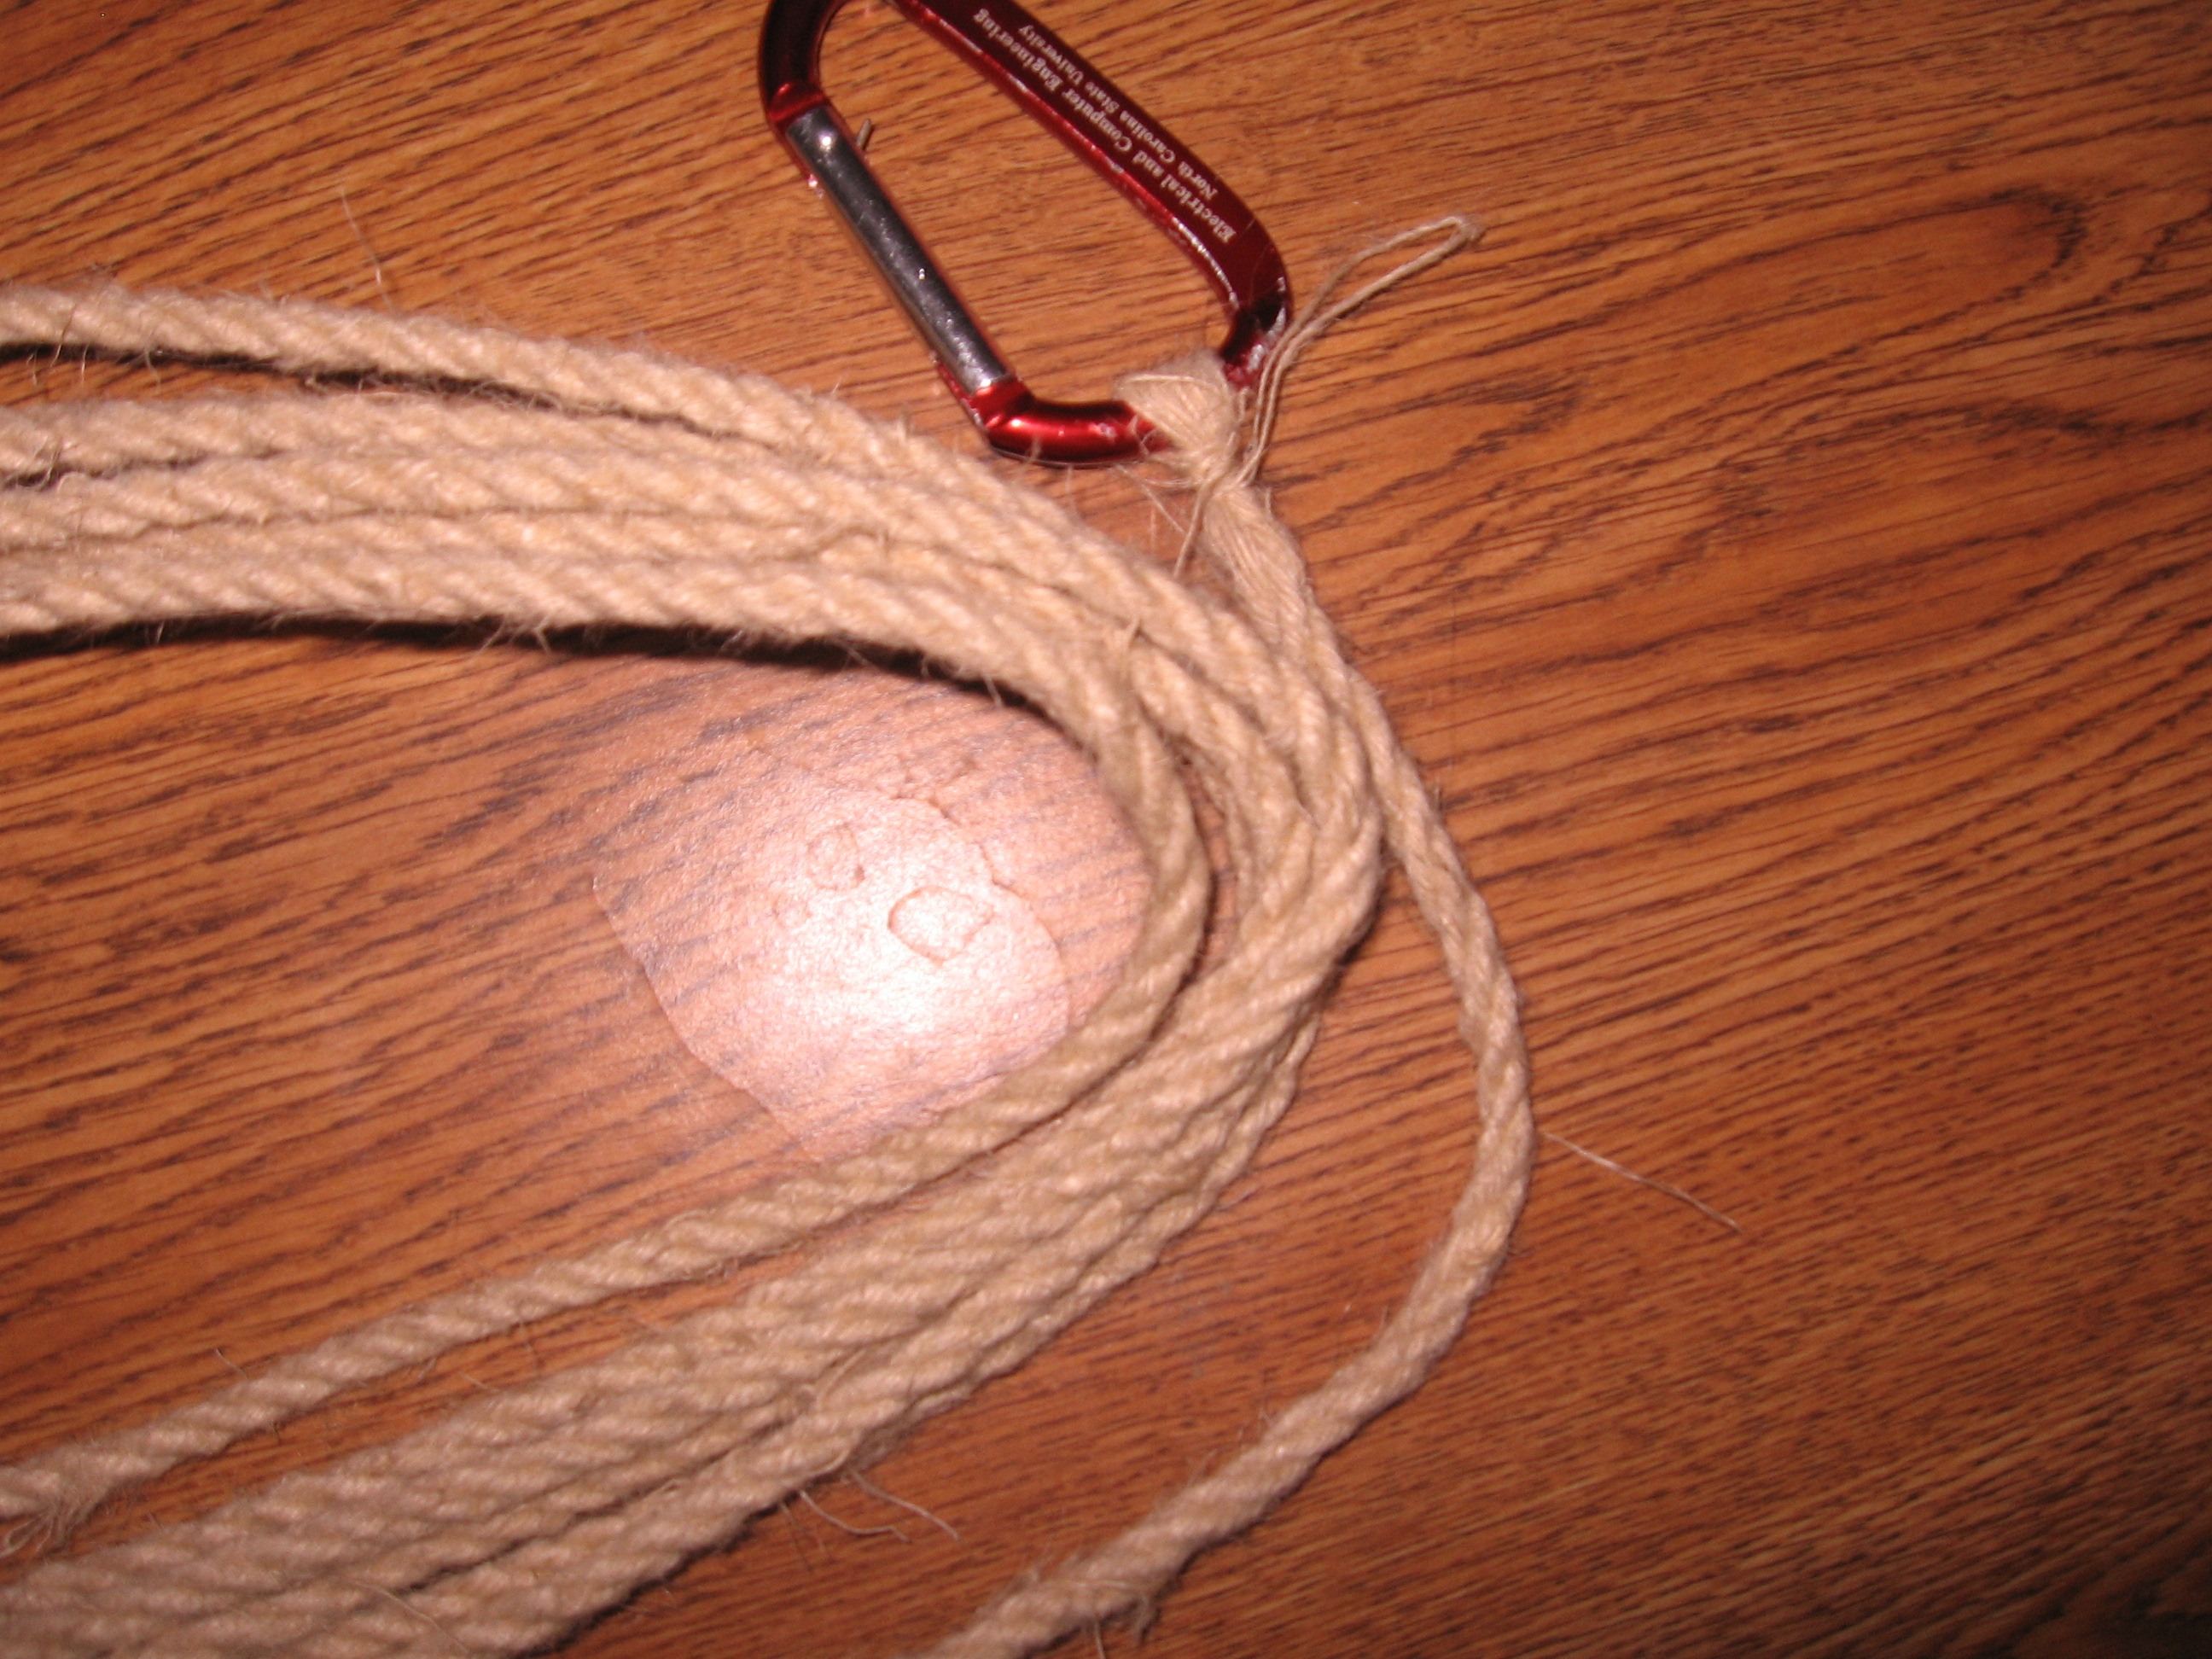
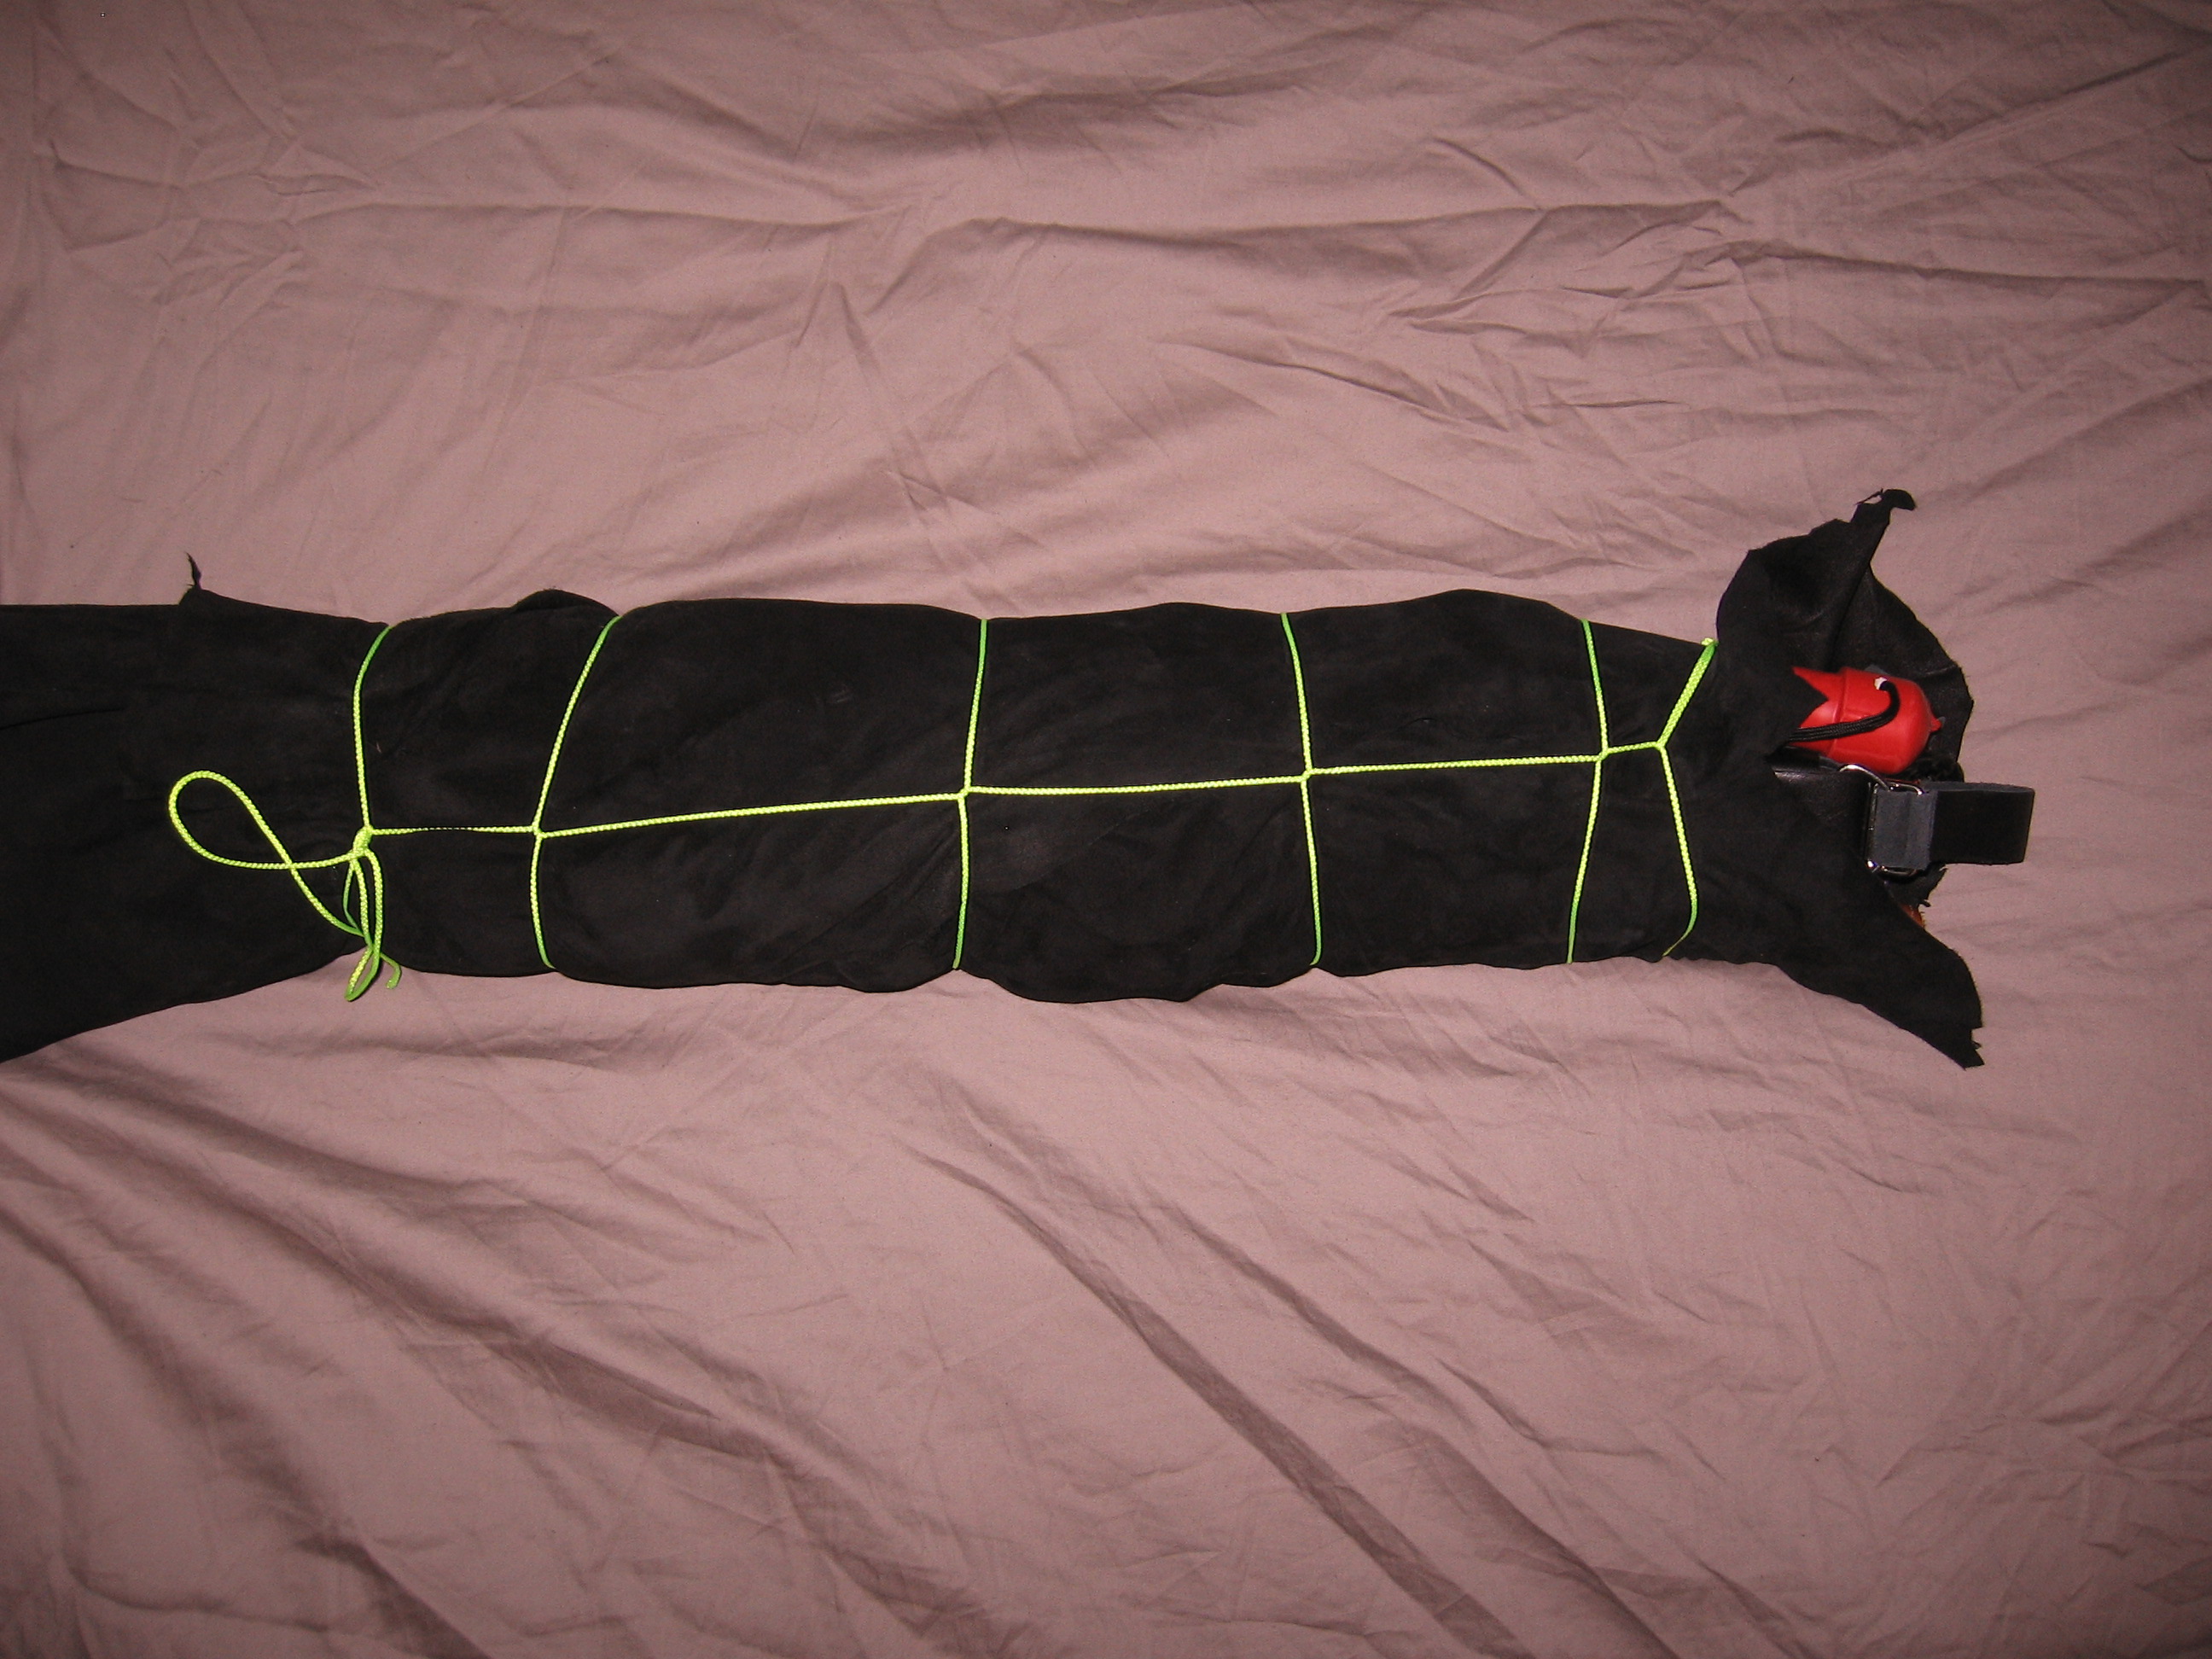
For this week’s craft segment I made an under the bed restraint system that’s sturdy, yet easy to conceal. I used about 60′ of 1/4″ braided nylon to create a rectangle 6″ smaller than my bed with 3′ loops at each corner. When the rectangle is put under the bed and the loops are put over the corners of the bed, a line passes through them all to draw everything snugly together. Instant tie down points. Also very easy to hide by removing the cinching rope and tucking it and the loops under the mattress.
August 13, 2008 @ 8:31 pm
· Filed under Craft, Podcast
This project was completed at a local Crafter’s SIG meeting. Since the time was somewhat limited, no finishing work was done, but it gets the basic idea across.
A 30″x2.5″ strip of tool leather was cut out and bent in half. We then traced a handle shape into a 10″x2.5″x0.5″ block of ash. The wooden block was clamped to the table and the rough shape was cut out using a jigsaw. The shaping was then finished out with an Oscillating Edge/Belt Spindle Sander. A hand held router was used to carve out the inset areas where the leather overlaps the wooden handle so that the leather sits flush with the handle, and then the router was used to round off all the edges. The handle was then sanded smooth on all exposed surfaces. Holes were drilled in the handle for the leather rivets and a lanyard. Matching holes were punched in the leather and the edges were rounded off using an edging tool. The rivets were then put in to place and screwed tight.
July 21, 2008 @ 10:31 pm
· Filed under Craft, Podcast
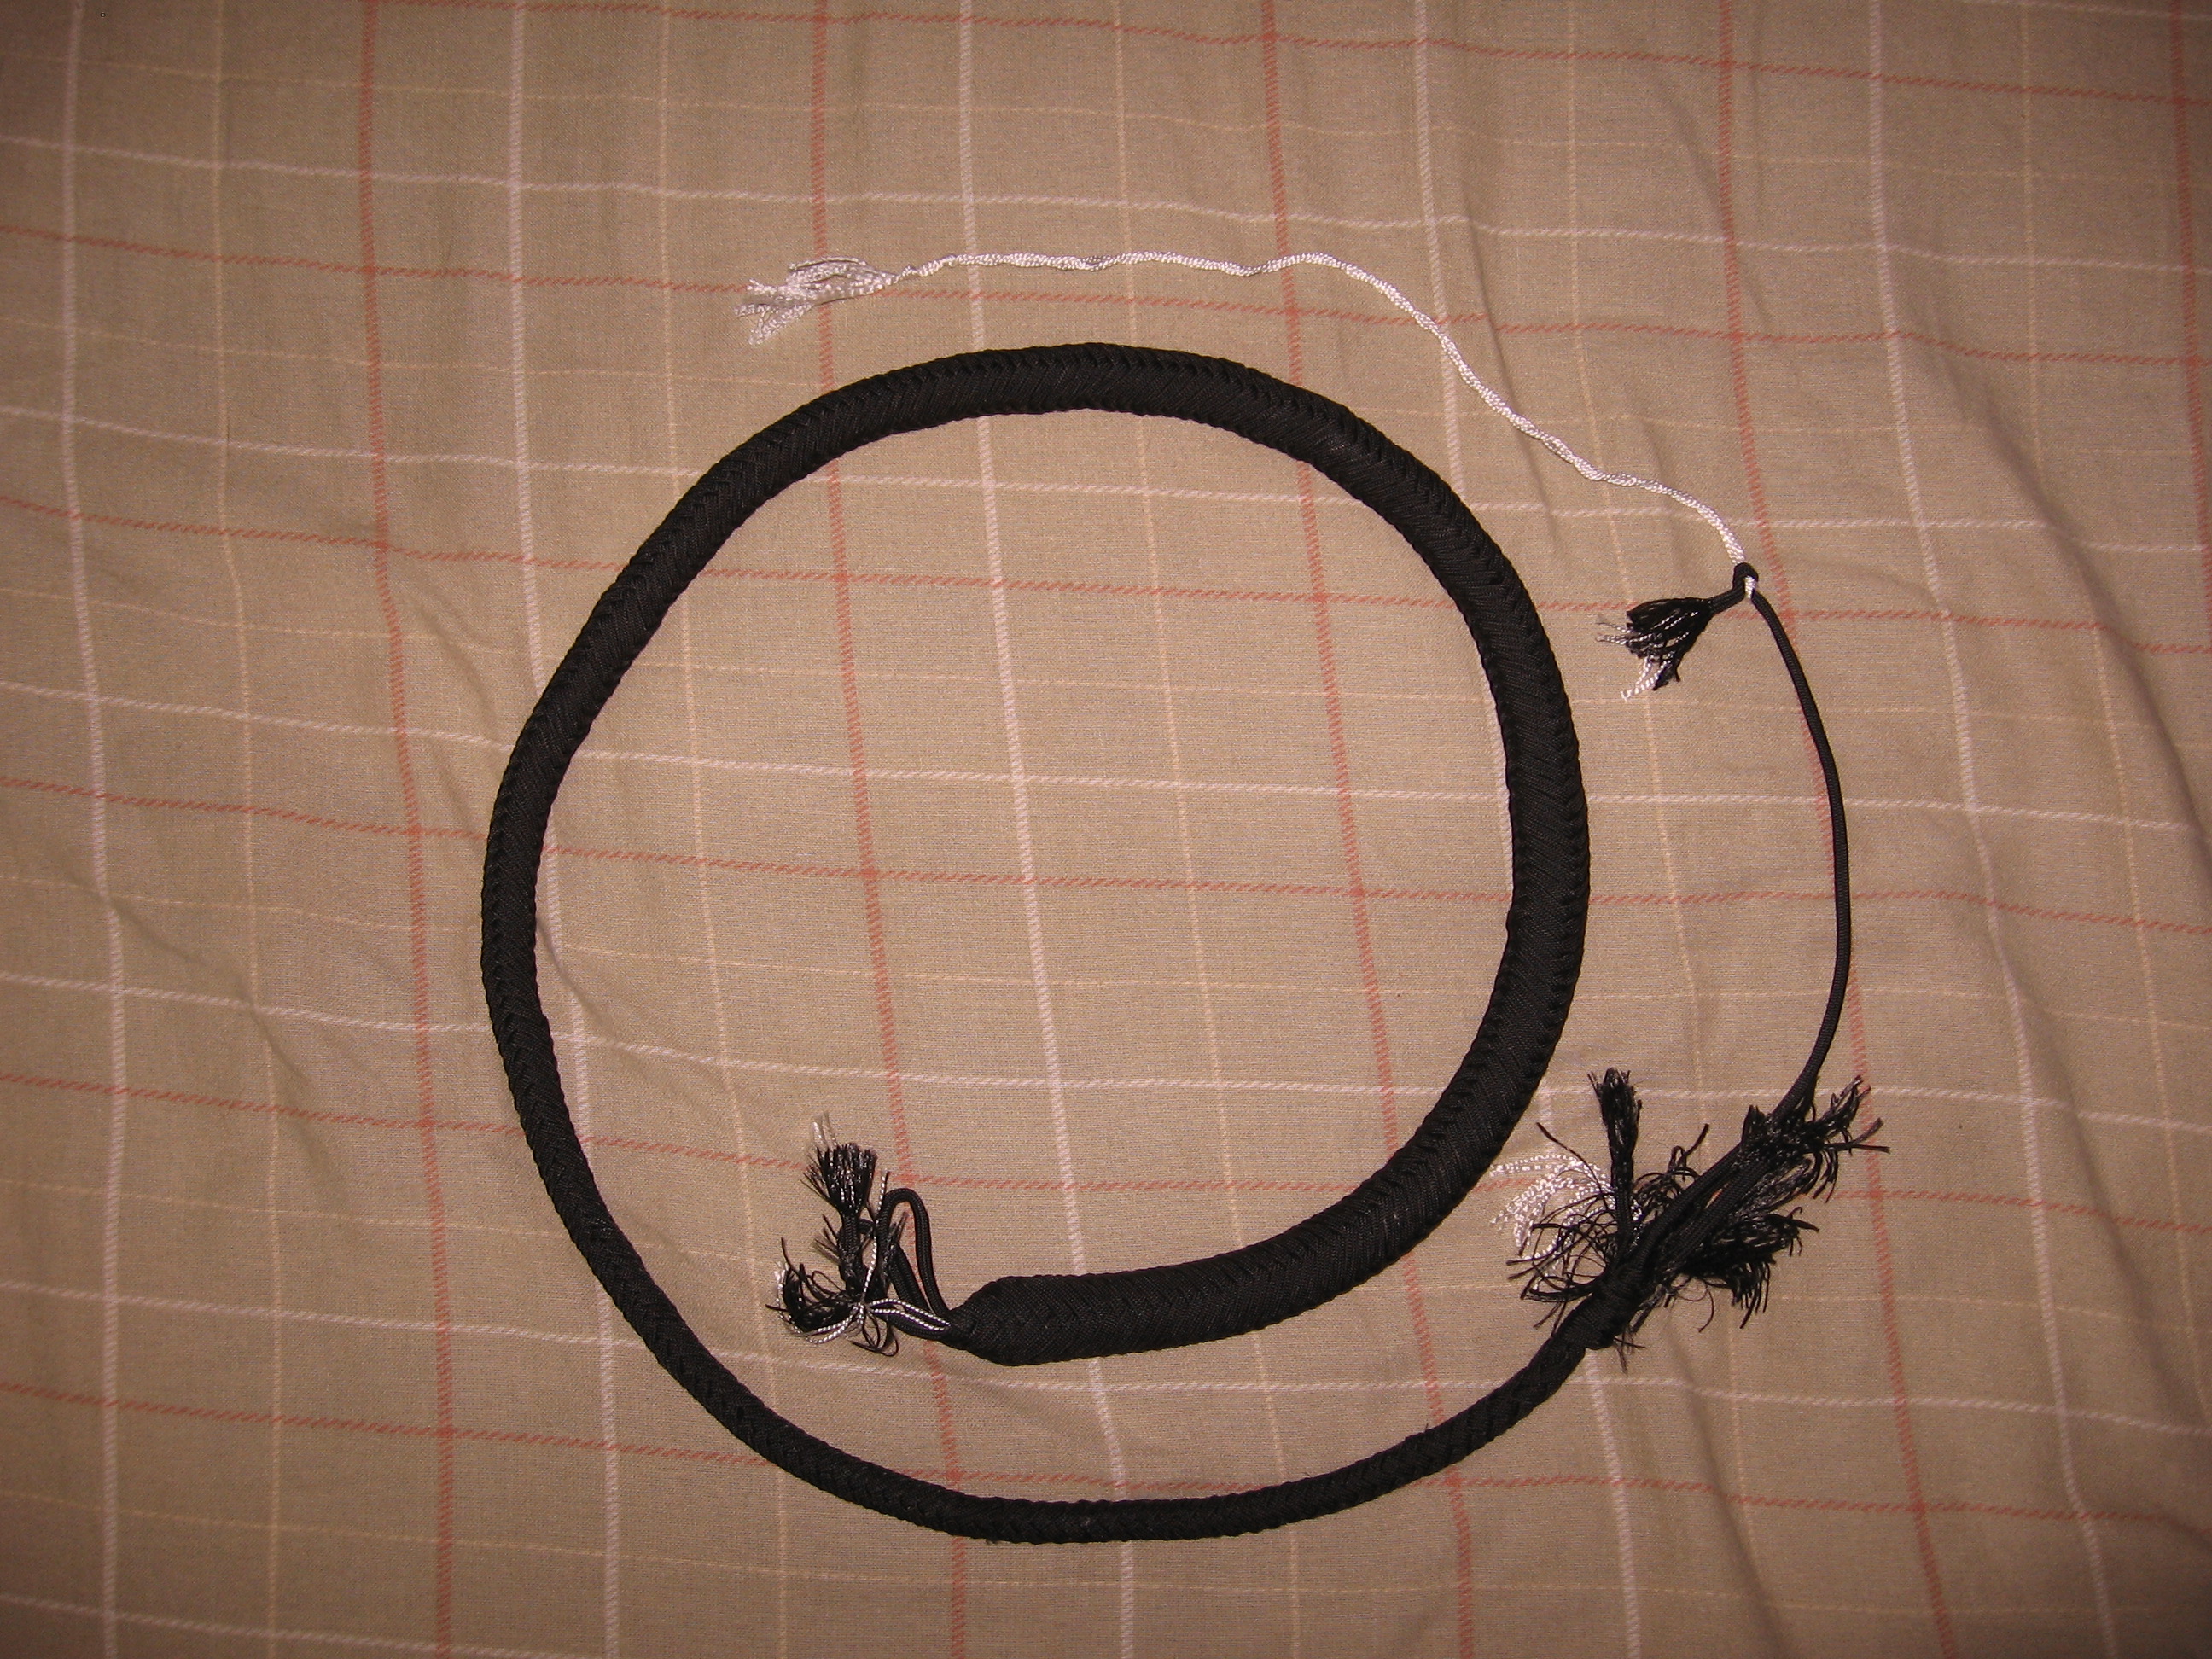
It’s finally here. Today I talk about my first nylon singletail project. While I included pictures of the various stages of completion, I decided that a detailed explanation of the round braiding process would be hard to show without video, and there are several good videos available at: http://youtube.com/watch?v=UT6u-uetGNY, http://youtube.com/watch?v=PxmLq9Wv1Tk, and http://youtube.com/user/bernie46. I used about 160 ft. of black nylon 550 cord or parachute cord, available on-line or from your local military surplus store for about $80 per 1200 ft. spool, with the core strands pulled out so that it lays flat. For the weighted core, I stuffed a 60″ section of 550 cord with lead shot, available from your local gun or hunting store, and folded it over at the 20″ mark. This resulted in 20″ of doubled weighted line and 20″ of single weighted line. I then braided 8 strands at 20″, followed by 12 strands at 40″, then 16 strands at 80″, each time dropping a pair of strands into the core every 12″ or so, finishing with four or six strands at the end of each pass. For the fall on the end I used a 10″ piece of 550 cord with the core still in it. I doubled the fall over, laid it over the ends of the last set of strands with the bight on the braided side, and then tied each of the strands over all the other strands and the fall. This process is shown in one of the videos for replacing a fall. Once this was done I tied one side of the fall over all the strands and pulled the other side taught. The cracker was made with a few strands of the core material from the 550 cord as described in one of the videos.
June 21, 2008 @ 12:05 am
· Filed under Craft, Podcast
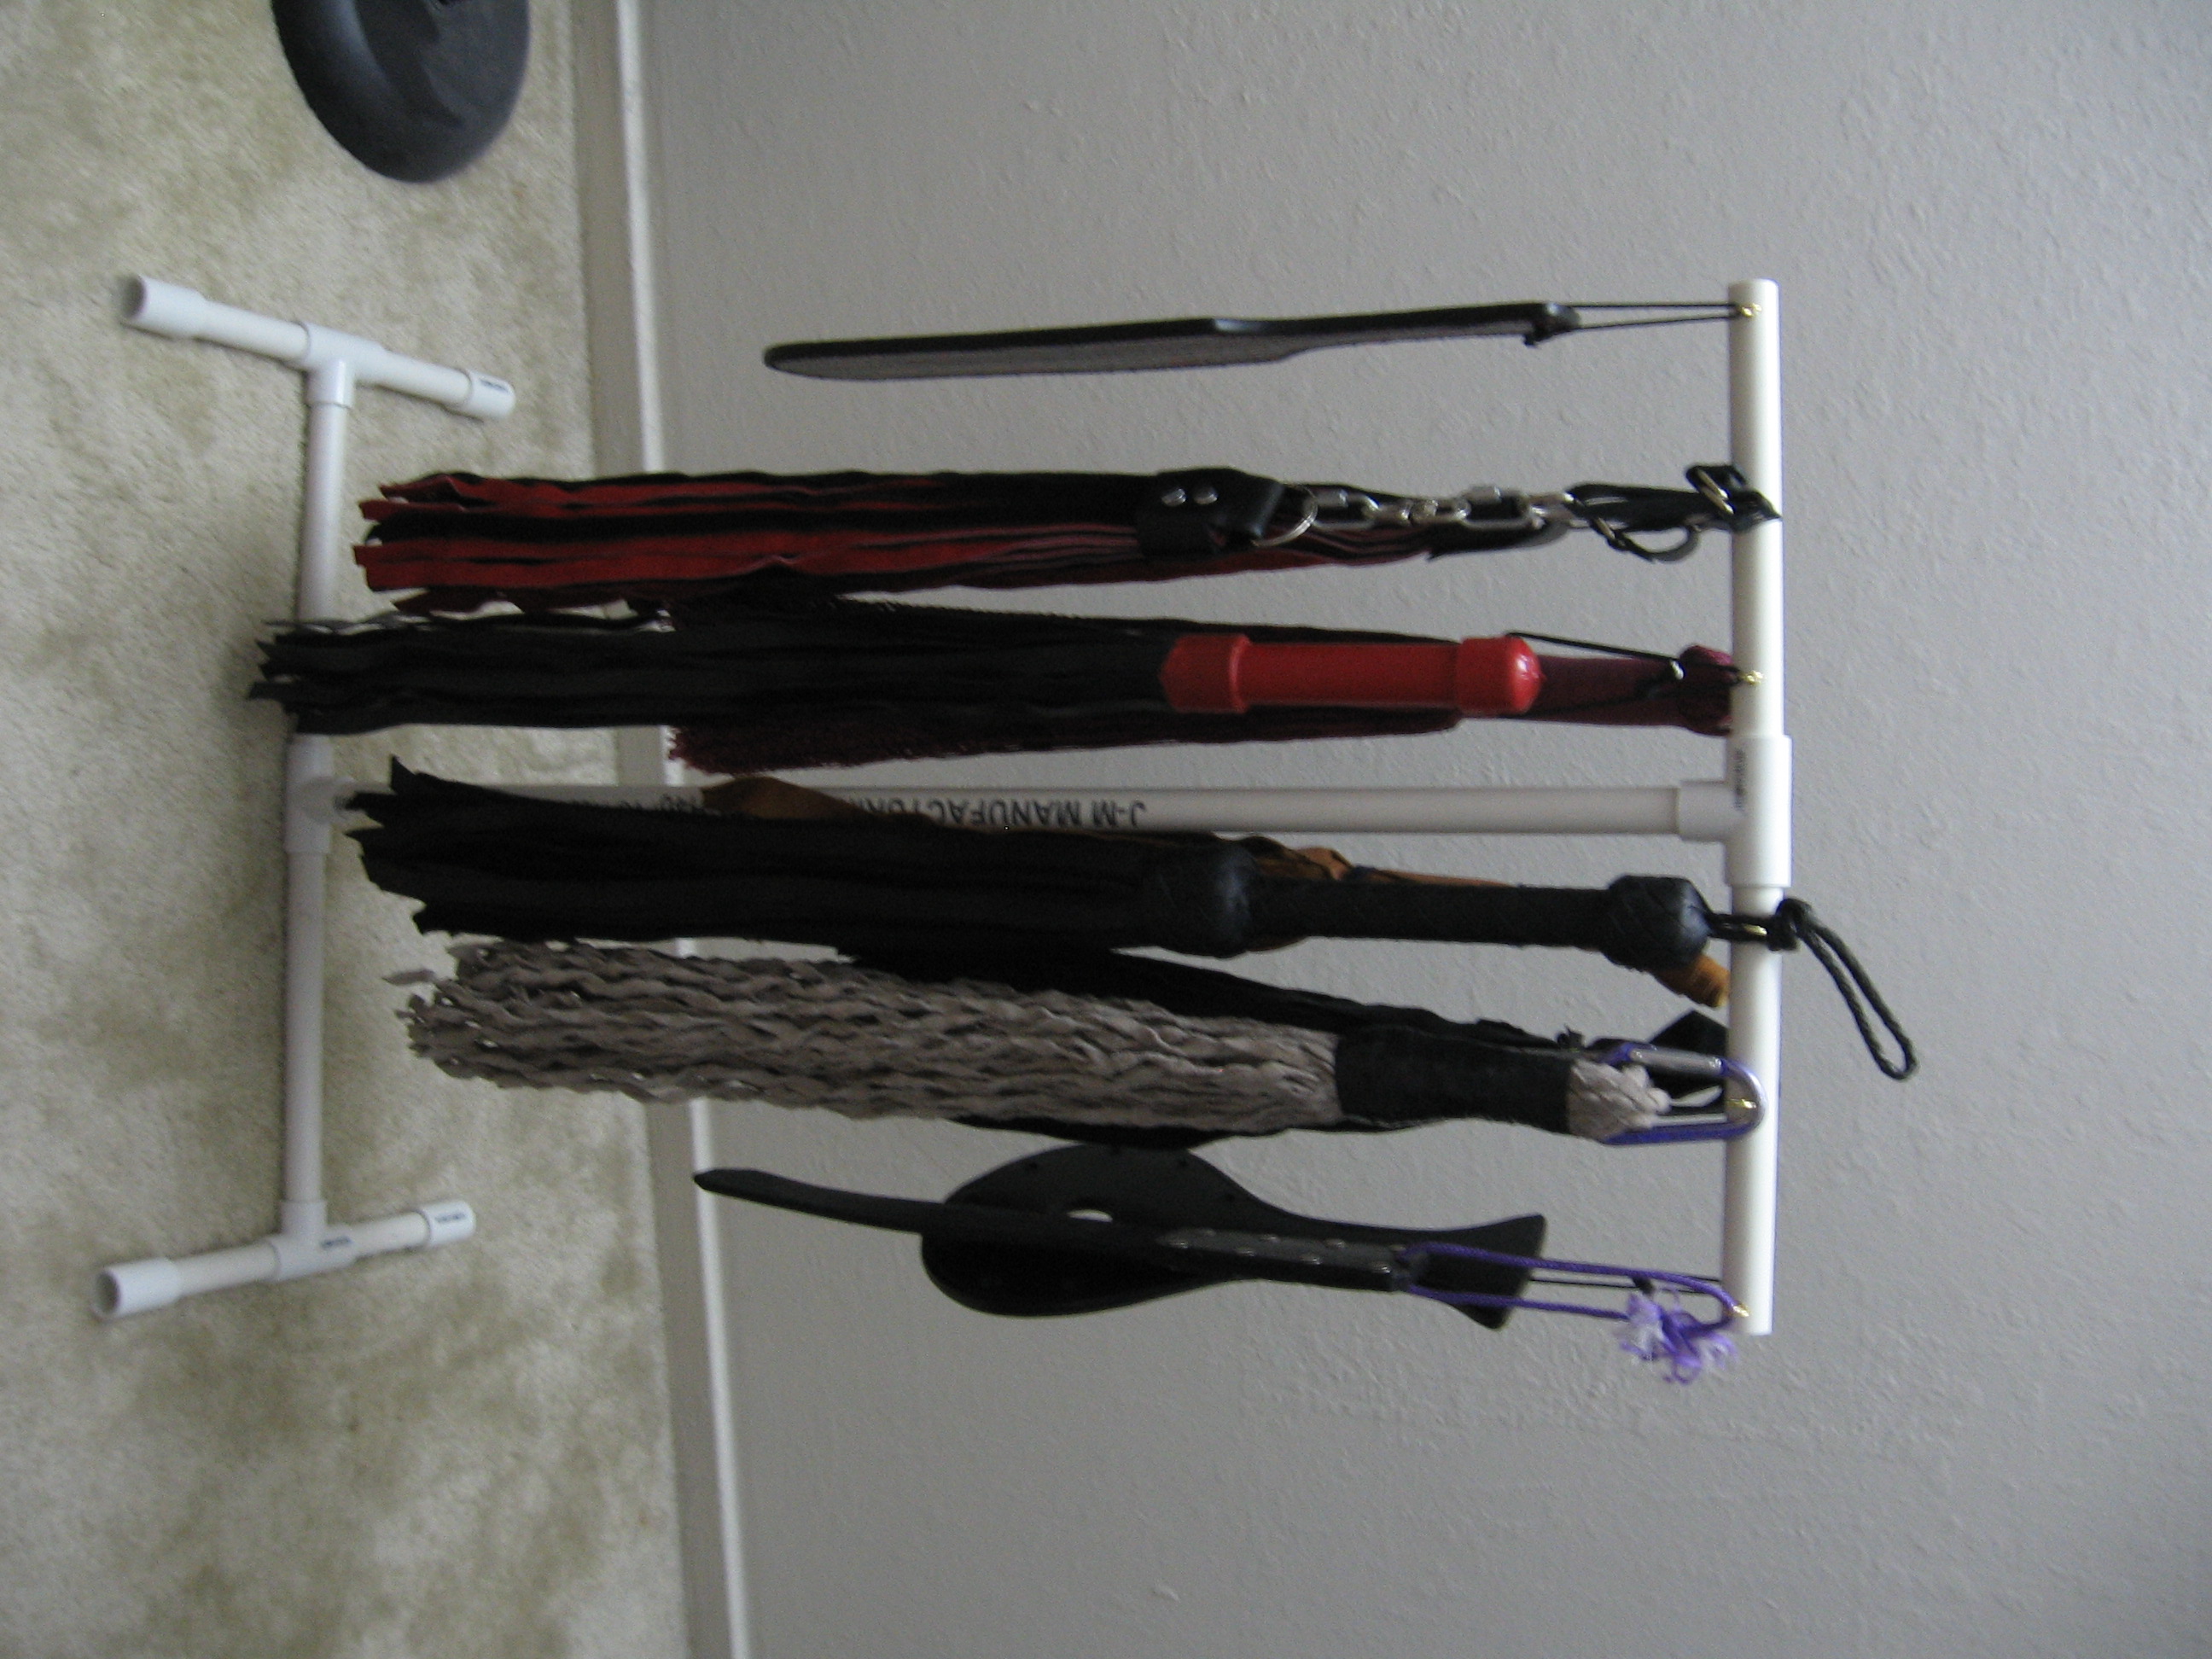
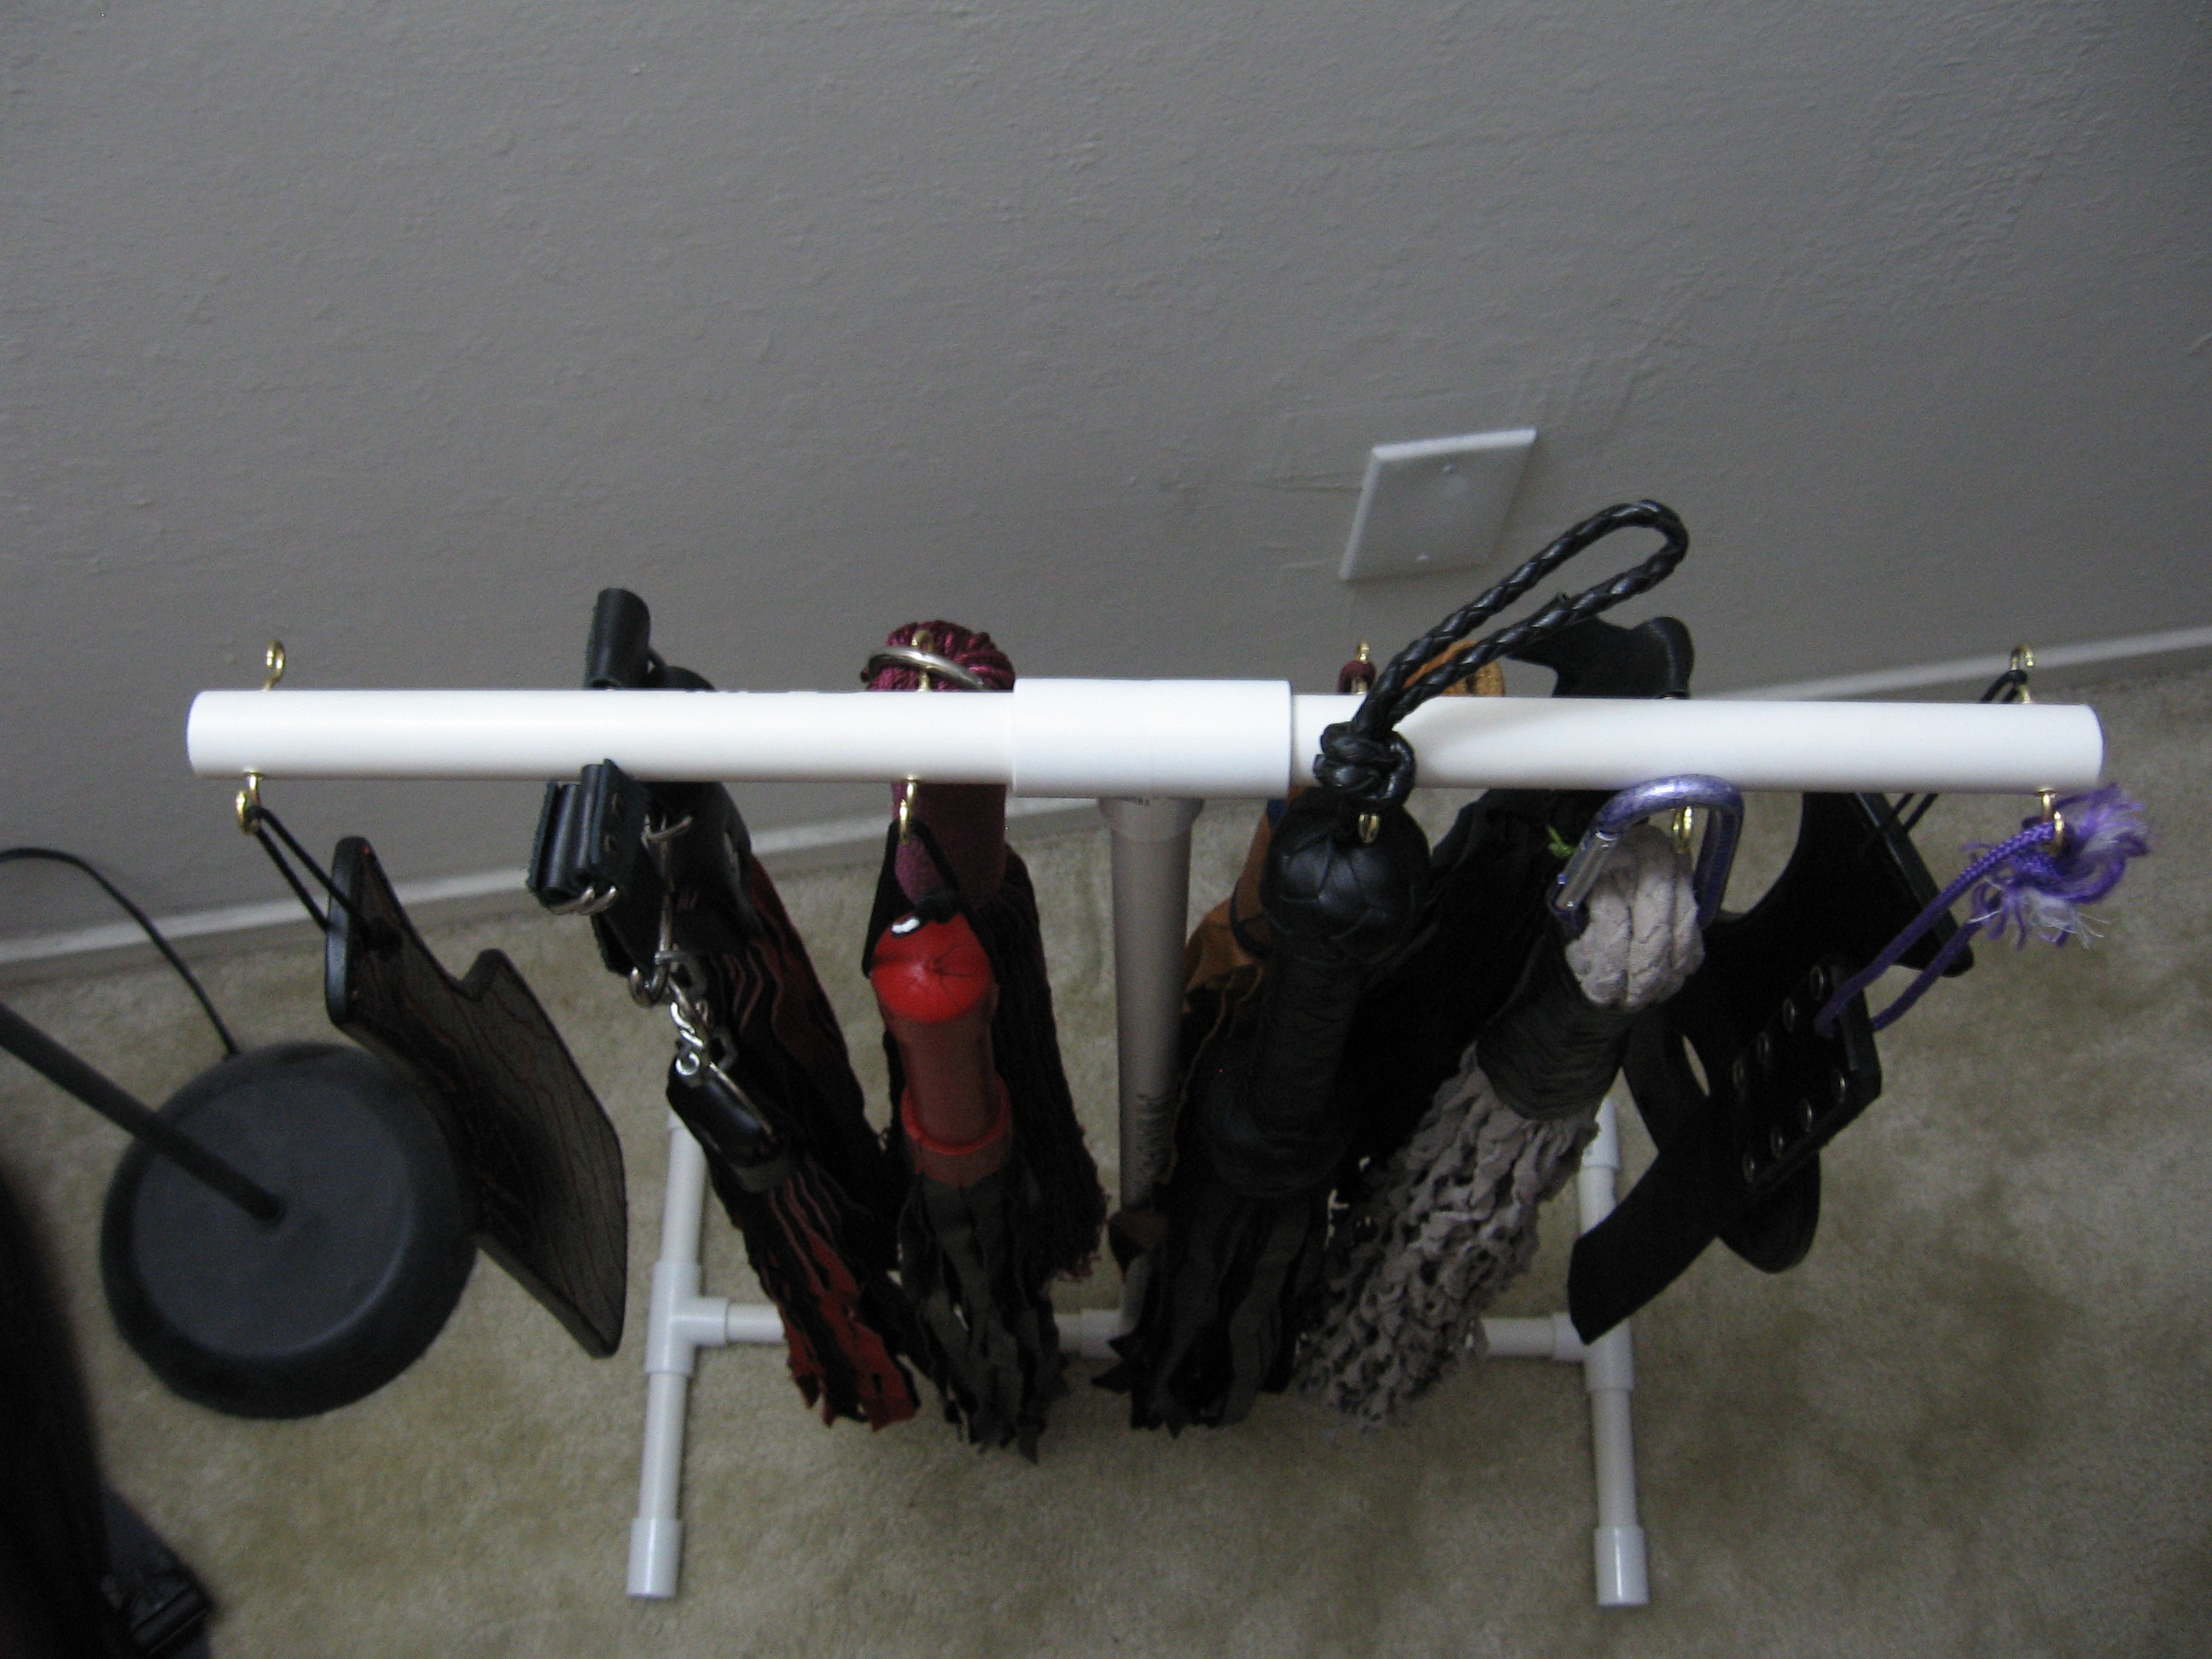
Tonight I cover the construction of my new Flogger Stand. It’s made out of about $3 in small metal hooks, $2 in PVC fittings, and $5 in PVC pipe. The end product ended up being sturdy enough to hold a dozen floggers, breaks down into 3 pieces that fit in my larger toy bag, and only costing $10. The PVC pieces were cut to length to minimize the packed size while keeping the flogger tails off the floor. I made sure the base was wide enough to keep it from tipping easily. It’s very important to glue the two lateral pieces into the two T’s that they go in so that the main upright piece doesn’t pivot. I used superglue, which is functional but not the best choice. The small metal hooks screw in, but drilling a very small starter hole makes this much easier. The hooks can also be bent open a bit more to make it easier to get things on and off of them.
June 7, 2008 @ 9:25 pm
· Filed under Craft, Podcast
Easy to make, fun to use.
The construction is pretty simple. Cut out a triangle with a eight inch wide base, as long as you’d like, 2′ in this case. Wrap the base around a handle, and secure. If you’re using a metal handle, pre-drill holes in the handle and punch holes in the leather, if you’re using wood then you can secure it with leather cement.
May 15, 2008 @ 10:11 pm
· Filed under Craft, Podcast
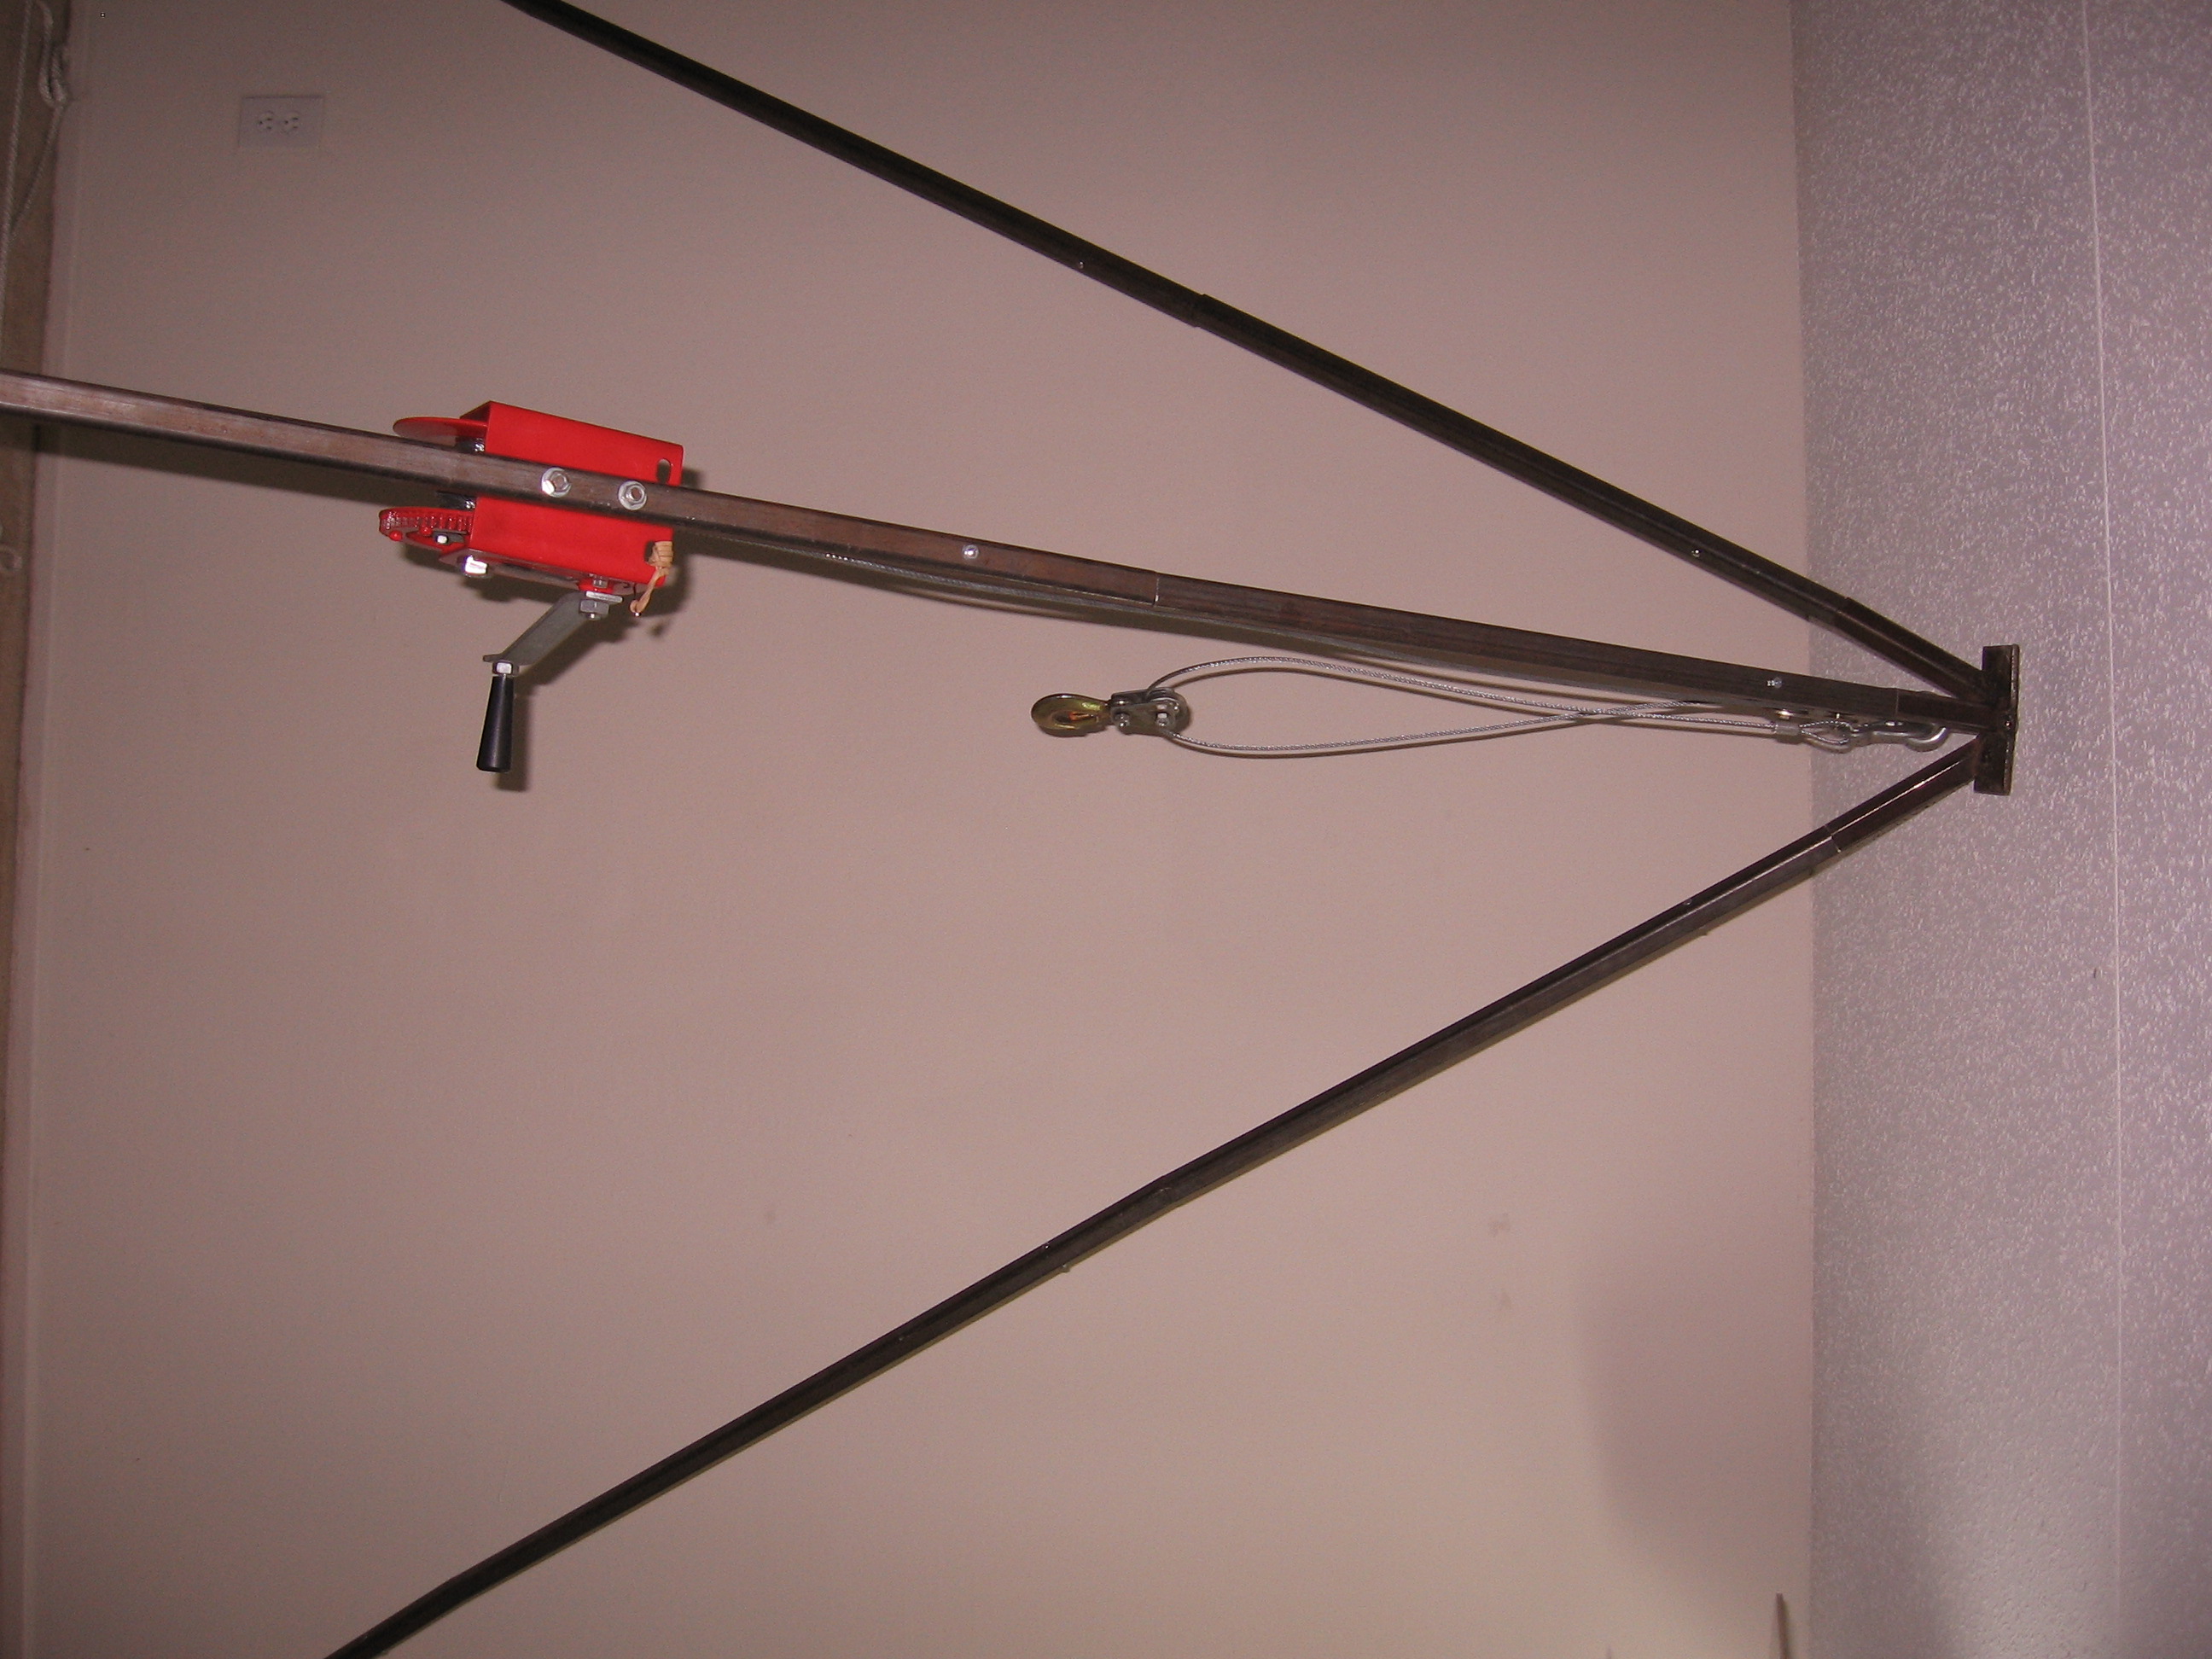
Warning: Suspension of any kind is inherently dangerous, and should not be attempted by anyone without proper training and supervision, and equipment used should be thoroughly inspected and tested prior to use.
While the legs may look thin, this portable steel suspension frame was made from 1″ square steel tubing with 1/8″ thick walls, available in 20′ sections from your local steel yard, and is sturdy enough for me at 260lb to bounce up and down on as hard as I could without bending or breaking. It’s probably worth the extra few bucks to get the steel tubing cut to size when you get it. Each leg is made from 3 segments and is approximately 9′ long, with a .5′ section welded to the top plate. Each of the segments is connected to the segment above it with a 1′ long piece of solid steel 5/8″ bar stock. The bar stock sits on top of a nut and bolt in a hole 6′ from the top of the segment and is held in place by gravity and friction. At the foot of the bottom sections, two holes were drilled for a U bolt that holds a large carabiner in place. Heavy braided nylon rope is used to prevent the feet of the legs from spreading. The feet are in an equilateral triangle with 10′ sides. The central segment of one of the legs has two holes drilled in it so that the winch can be mounted to it. After the frame is set up and the legs are secured together, the winch is bolted into place, a first pulley is hooked into the top eye bolt along with the end of the steel cable. The second pulley is used for connecting to the load. Pieces of thick plastic, a cut up cat litter lid in this case, are put under the feet so that they don’t dig in, scratch up, etc. whatever surface you’re using.
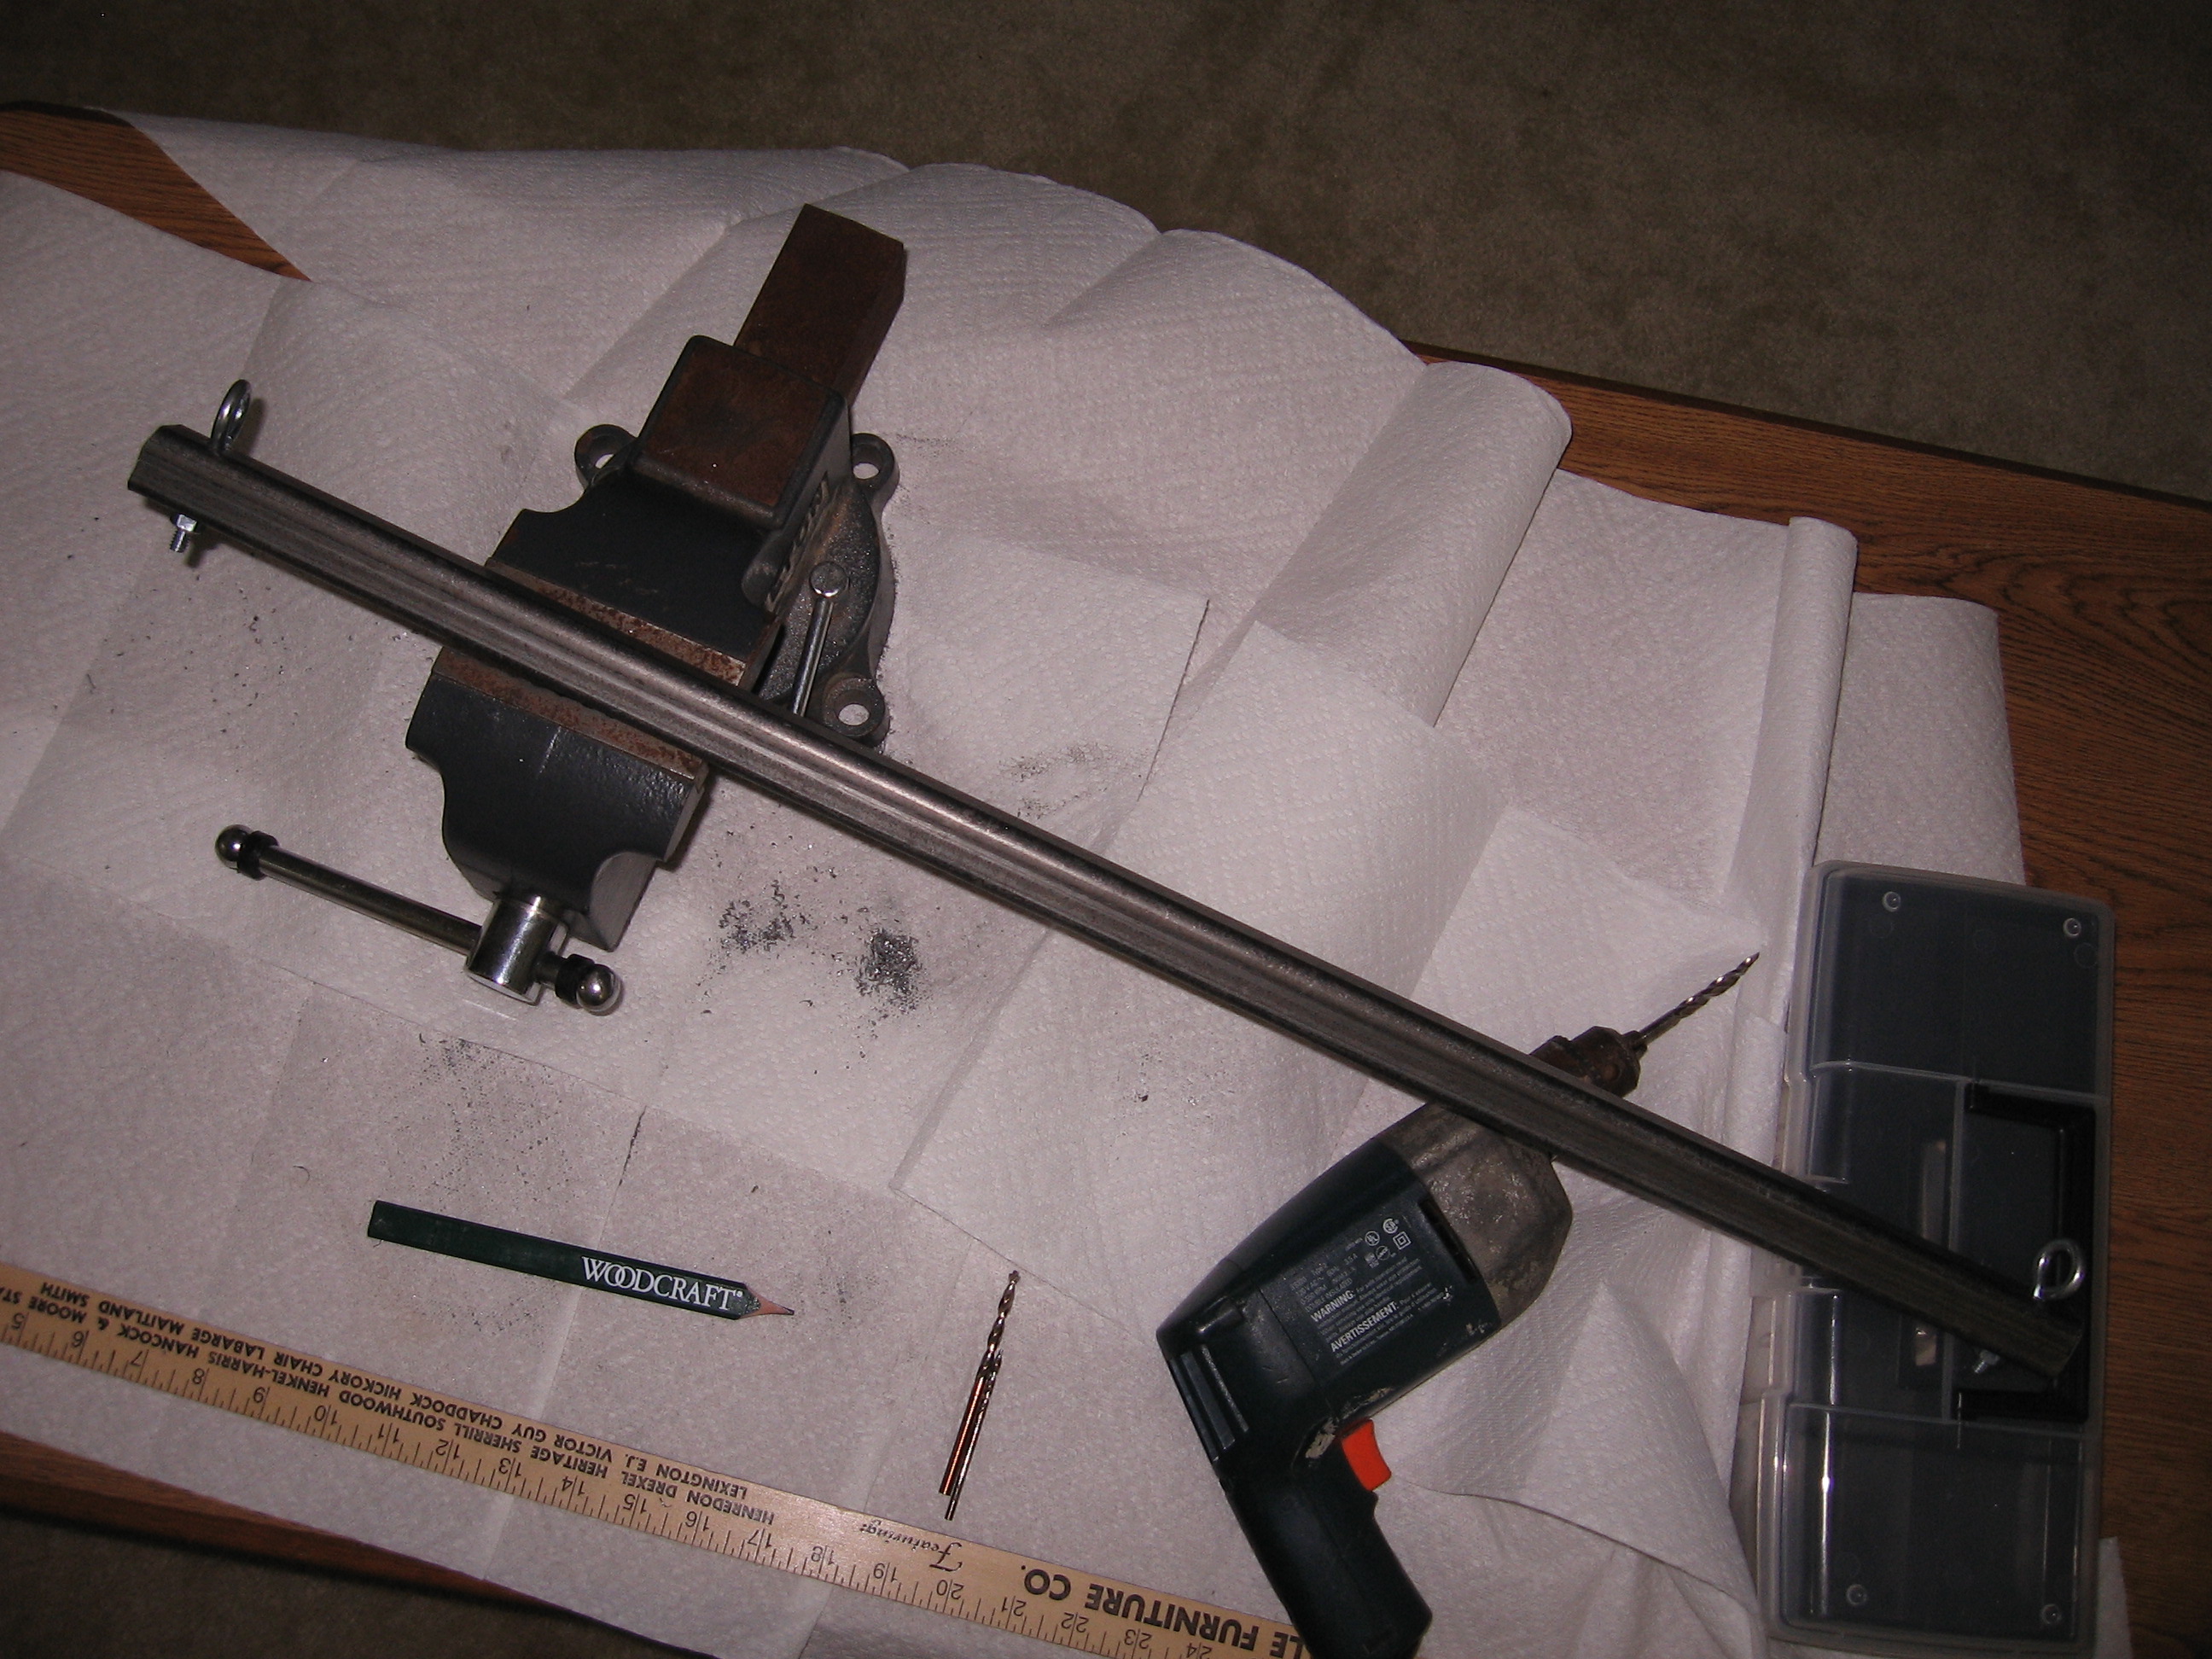
The only part I was unable to make myself was the top segment. Unless you are very experienced in welding, I would advise cutting the pieces you need at the appropriate angles and visiting a machine shop that does welding. They should have a small thick piece of steel plate lying around, and should be able to make the few welds required fairly cheaply, and cleanly. Mine is a little messy because a friend with some experience stick welding helped me make it in a few minuets. Needless to say, I thoroughly tested the welds before I used the rig. I was able to drill the hole for the eye bolt. To drill the hole through the steel plate, I locked it down in my bench vice, then drilled it with successively larger diameter drill bits. The large ones are a pain, because they start skipping around. If you can, get the machine shop to drill the holes for you too. It’s worth saving the aggravation. As an aside, if while you’re getting supplies tell them it’s for a tripod for cooking over a fire. Since everything is steel, it could actually be used for this. Ideally I should be upgrading to a drop forged eye bolt as soon as I get by the local steel yard. I’ve used the open eye bolt pictured after thorough testing, but for my own piece of mind, I like going with overkill on anything where someone’s life is potentially on the line.
That’s about it really. Feel free to contact me with any questions that you have at evan@kinkycrafter.com.
April 30, 2008 @ 11:04 pm
· Filed under Craft, Podcast
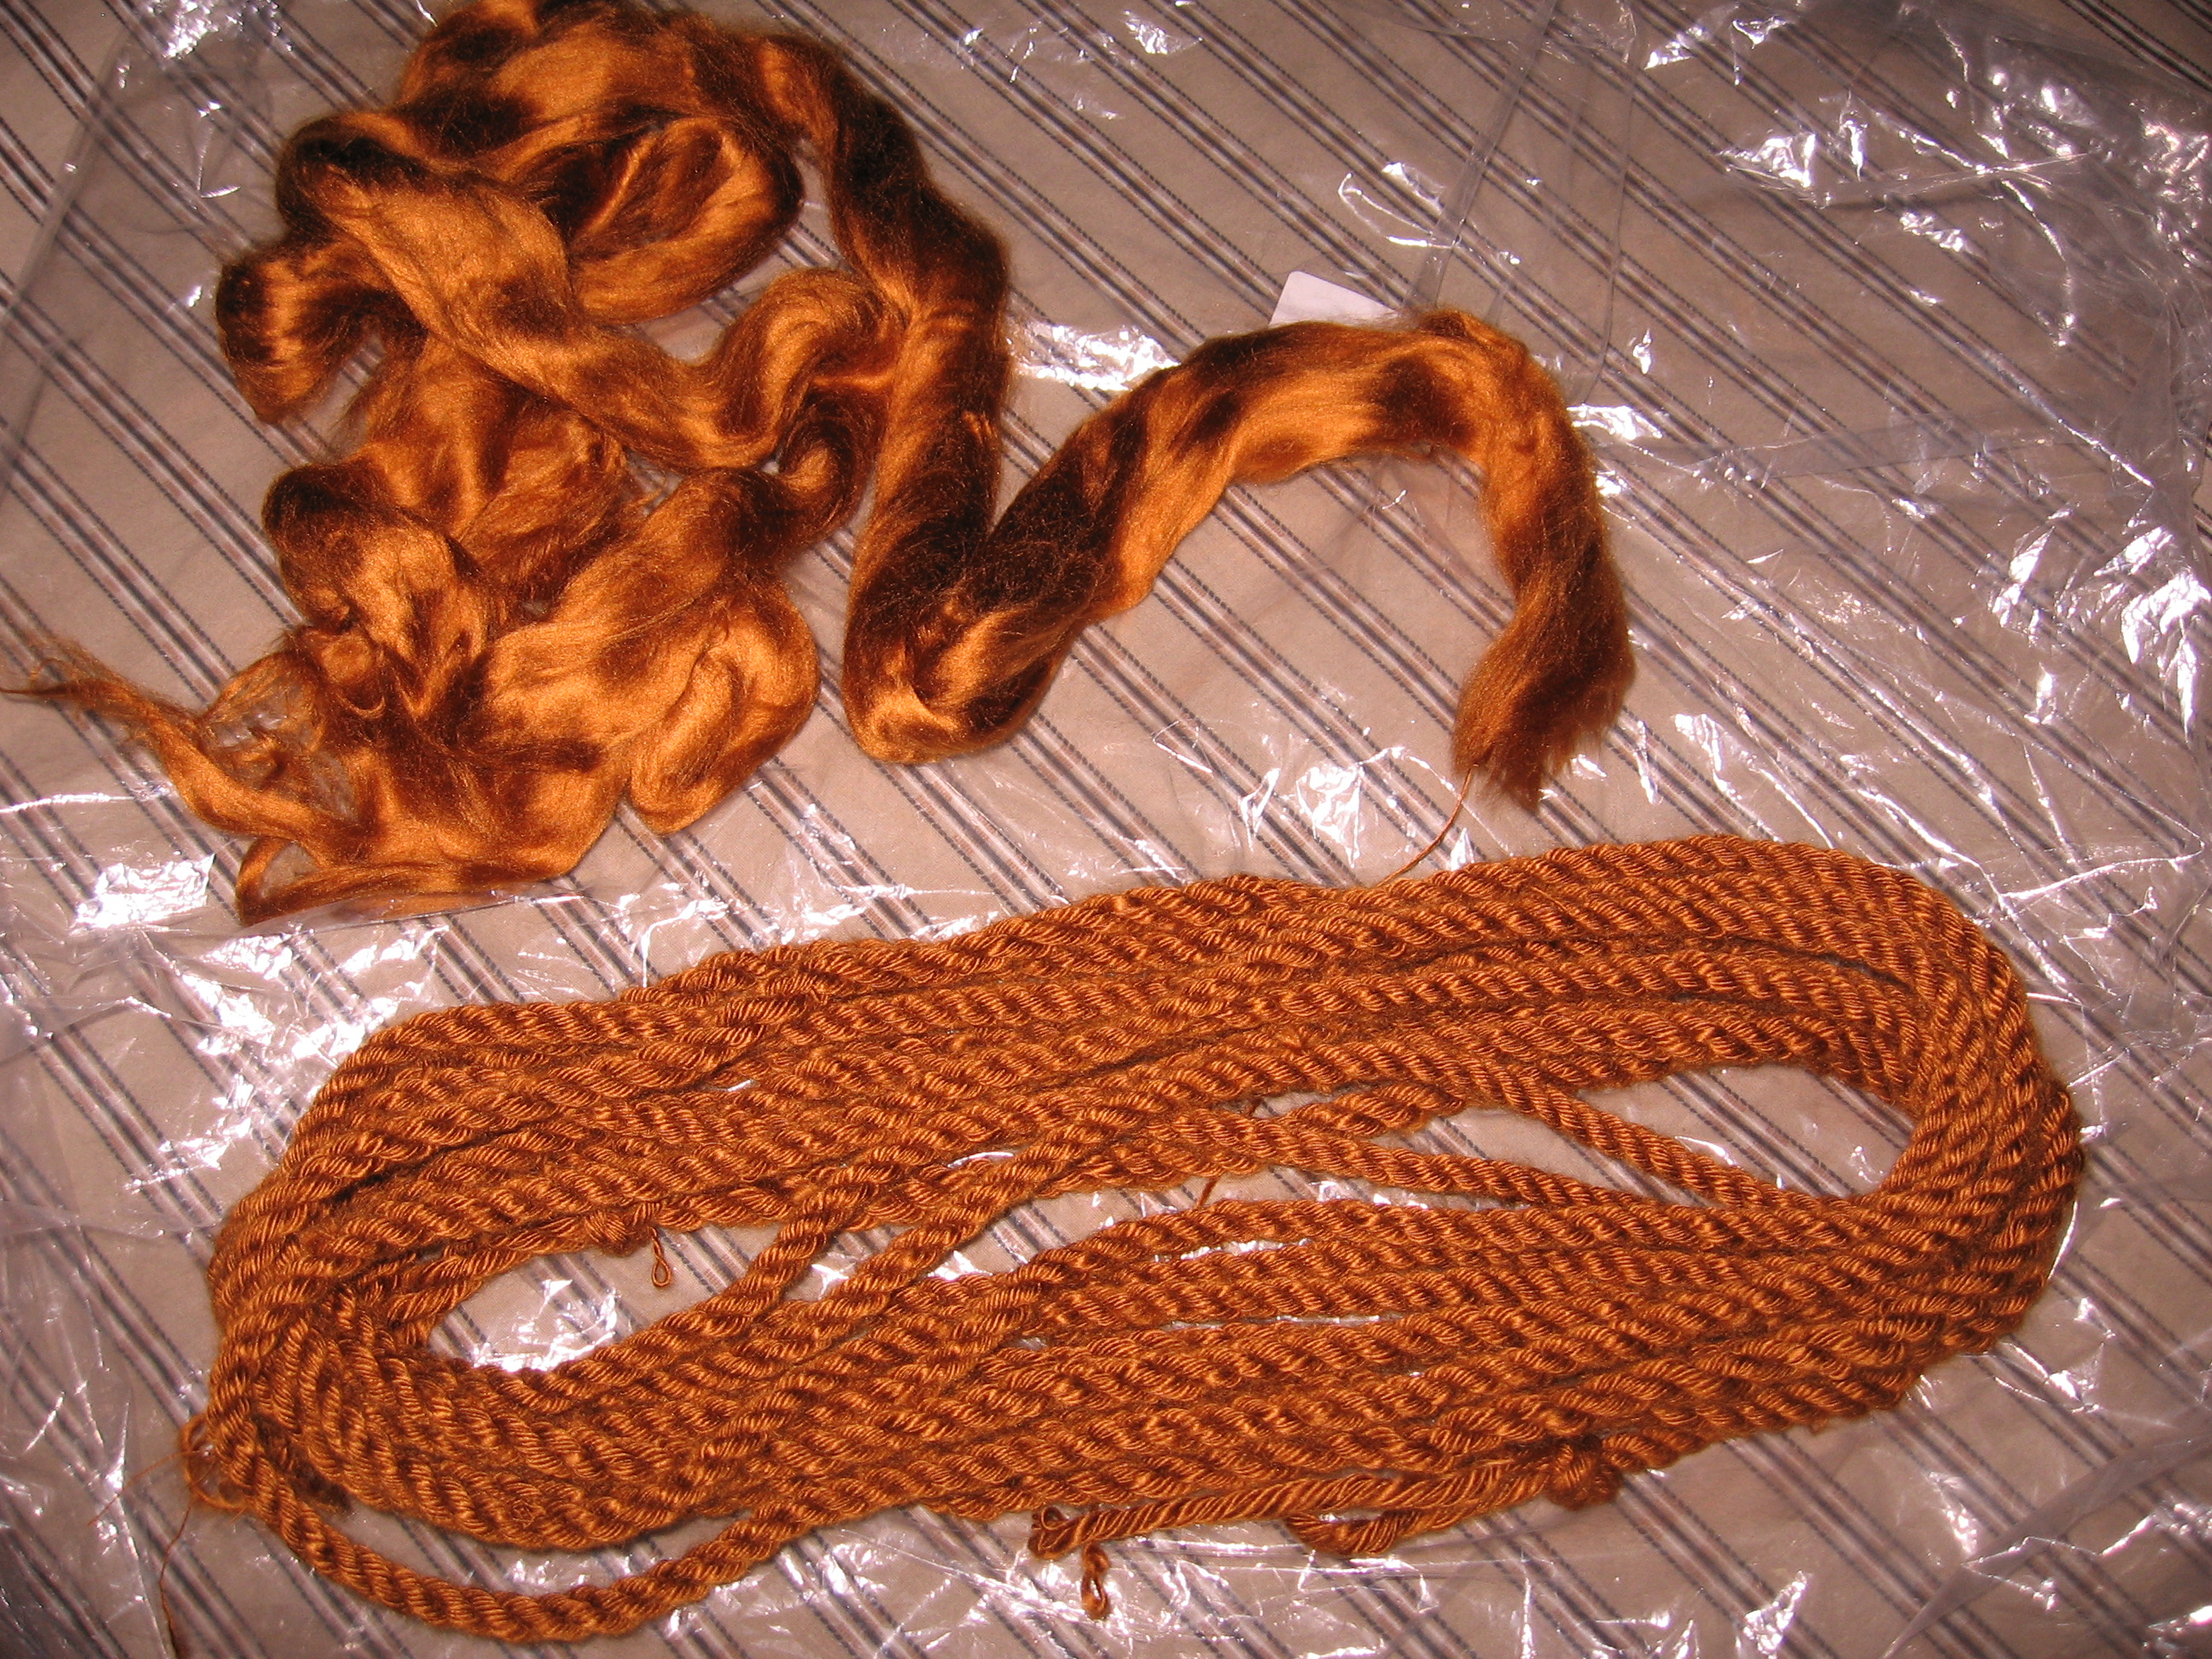
This week’s craft segment is finally here! I wasn’t able to put aside enough time to spin up a decent amount of bamboo thread so I used some handspun hemp that I had laying around. It’s left over from when I first started spinning hemp, so it’s not the prettiest or most consistent, but I think it gets the point across. I included a picture of the finished bamboo rope from this Monday for comparison.
April 20, 2008 @ 10:06 pm
· Filed under Craft, Podcast
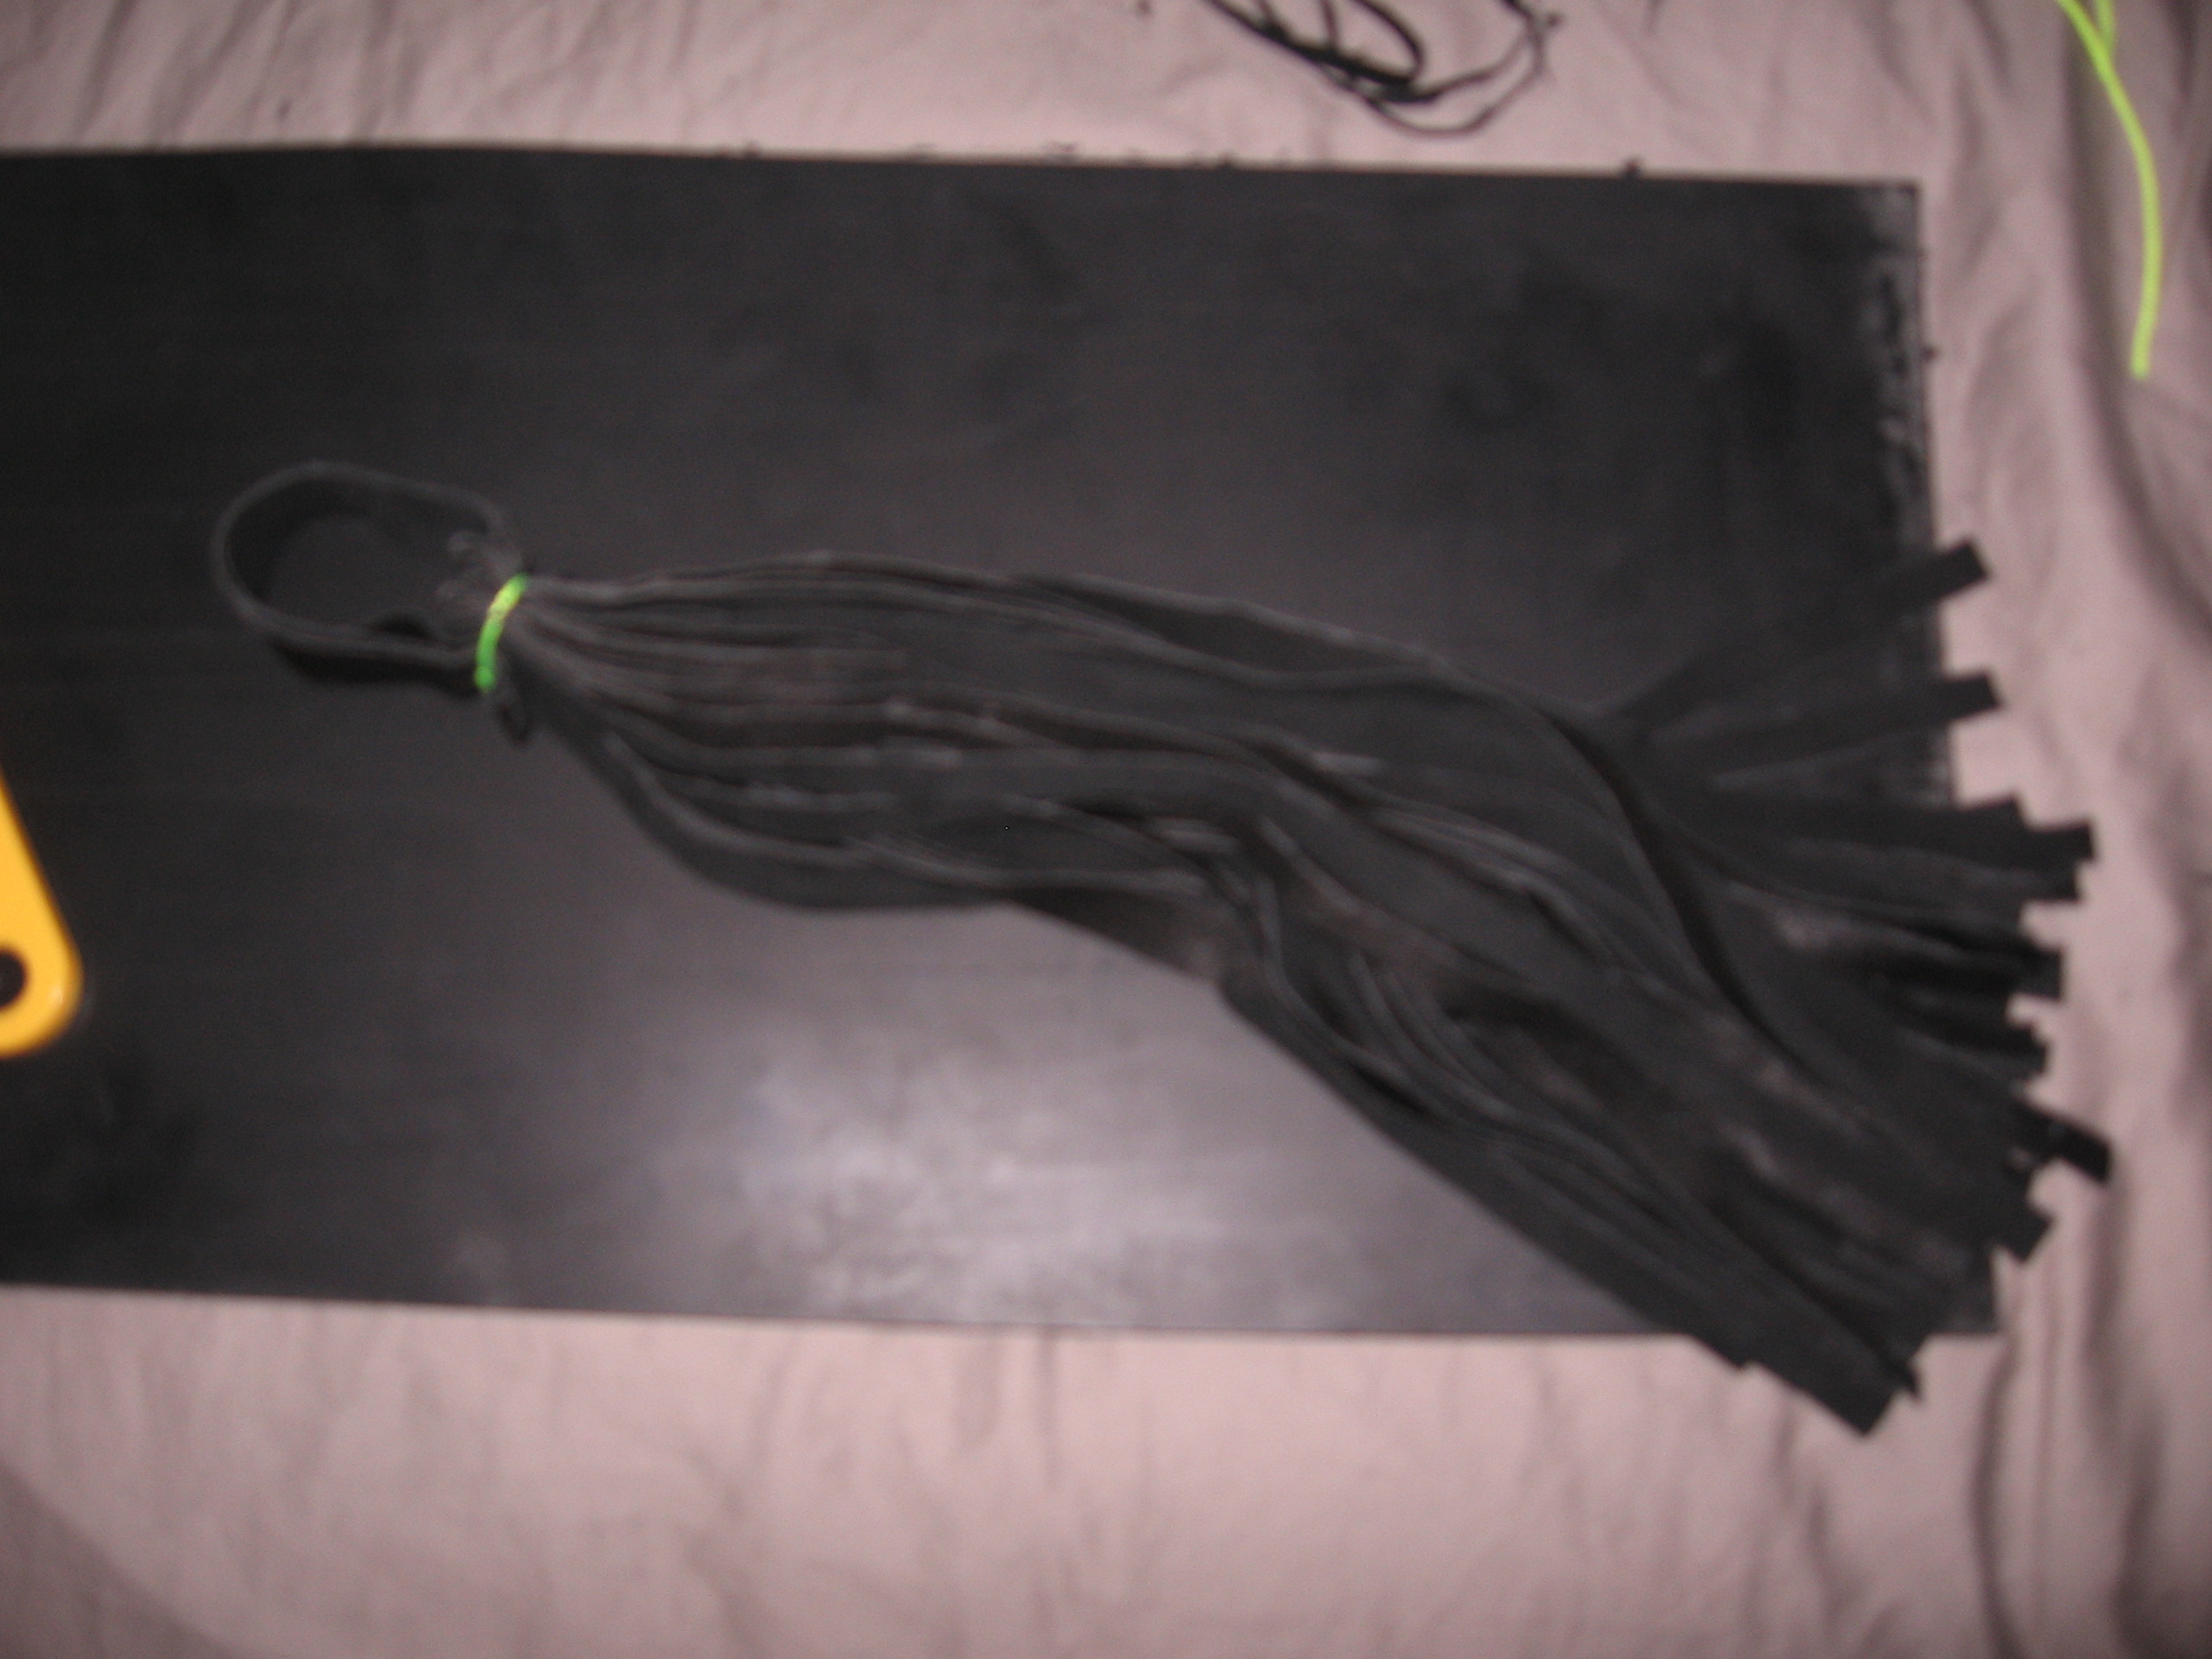
This project was a culmination of necessity (the toy bag was getting a bit cluttered), materials at hand (what else are you going to do with a small uneven light weight kangaroo hide?), and being in recovery mode from Saturday (all I had to do was tie two knots). I hope you enjoy.
April 14, 2008 @ 7:44 pm
· Filed under Craft, Podcast
Since I was unable to take pictures of the initial construction due to the no camera policy of the club I decided to recreate it with paper and pencil. Also staples. So imagine the paper is leather, the pencil is a fiberglass rod, obtainable from a kite store, the staples are leather glue, etc.
Supplies, heart printed out, cut out, and used as a template for 8 “leather” hearts. The actual hearts were cut out using a press and die to speed up and even out the process. The hearts were then notched as seen to help create the taper shape of the final product. The fiberglass rod was black so that nothing would show through the leather braiding. The 4 leather strips were .25″ each, and about 4 feet long to cover the 2 foot long rod. The turned wooden handle had a .5″ deep hole drilled in the center matching the diameter of the braided leather over the rod, with a deeper hole for the bare rod at the base. Gorilla glue was used to secure the shaft into the handle.
April 7, 2008 @ 7:04 pm
· Filed under Craft, Podcast
In tonight’s show, I’ll be discussing the construction of a fairly basic flogger. It’s nothing pretty, but very functional. The following pictures were takes during the construction for reference and are linked to the full sized images. The quality of images should be improving in upcoming craft segments. One quick note, after talking about the basic construction of the flogger, I accidentally skipped over the description of cutting the straps into 0.5″ falls with the Australian strander. This process is shown below. If you have any questions or comments, feel free to email me at Evan@kinkycrafter.com
 KinkyCrafter 20081126 - Craft Segment - Fibreglass Cane [ 3:55 ] Play Now | Play in Popup | Download (628)